Posts tonen met het label hexagon. Alle posts tonen

maandag 9 juni 2014

Snow, eggshell or dots? - Sneeuw, eierschaal of stippen?

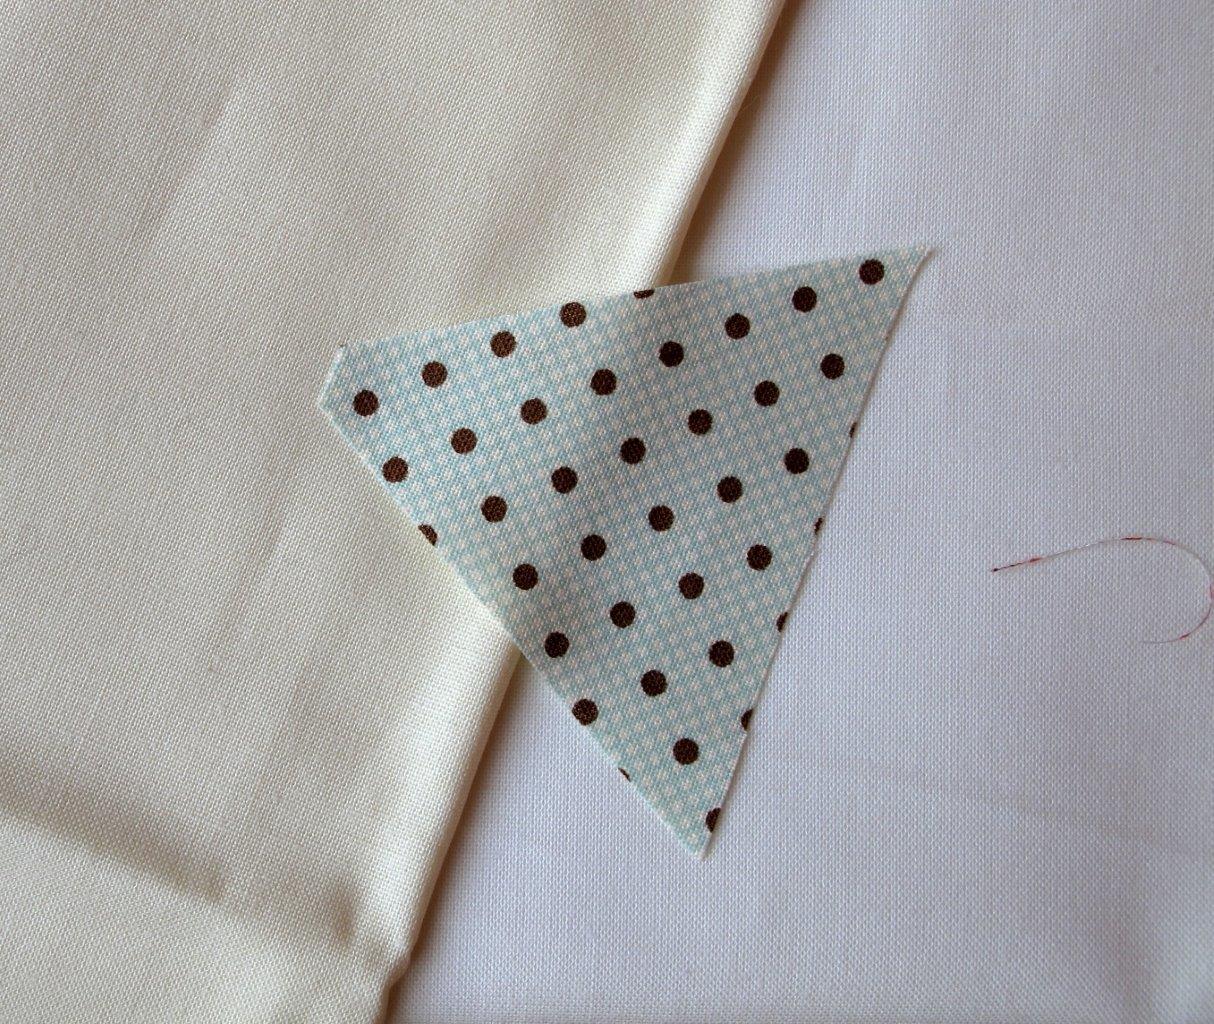
Today was auditioning time for some other background fabrics for the yellow hexagon quilt (see also this and this post), solids this time. A bit more neutral, but maybe also a bit duller. Left on the picture is eggshell, right snow and in the middle a piece of the blue and brown dot fabric. I hope the difference shows on your computer. Colours are so difficult to get right on a picture.

Vandaag werden weer enkele achtergrondstoffen uitgeprobeerd, ditmaal effen stoffen (zie ook deze en deze blogpost). Nog neutraler dus. En misschien ook wat saaier. Links op de foto zie je eierschaal, rechts sneeuw en in het midden een stukje blauw met bruine stippen. Ik hoop dat het verschil duidelijk is op de foto. Kleuren zijn zo moeilijk te fotograferen.
auditioning different background fabrics

Here again on a snow background.
Hier nogmaals op de witte achtergrond.

auditioning different background fabrics

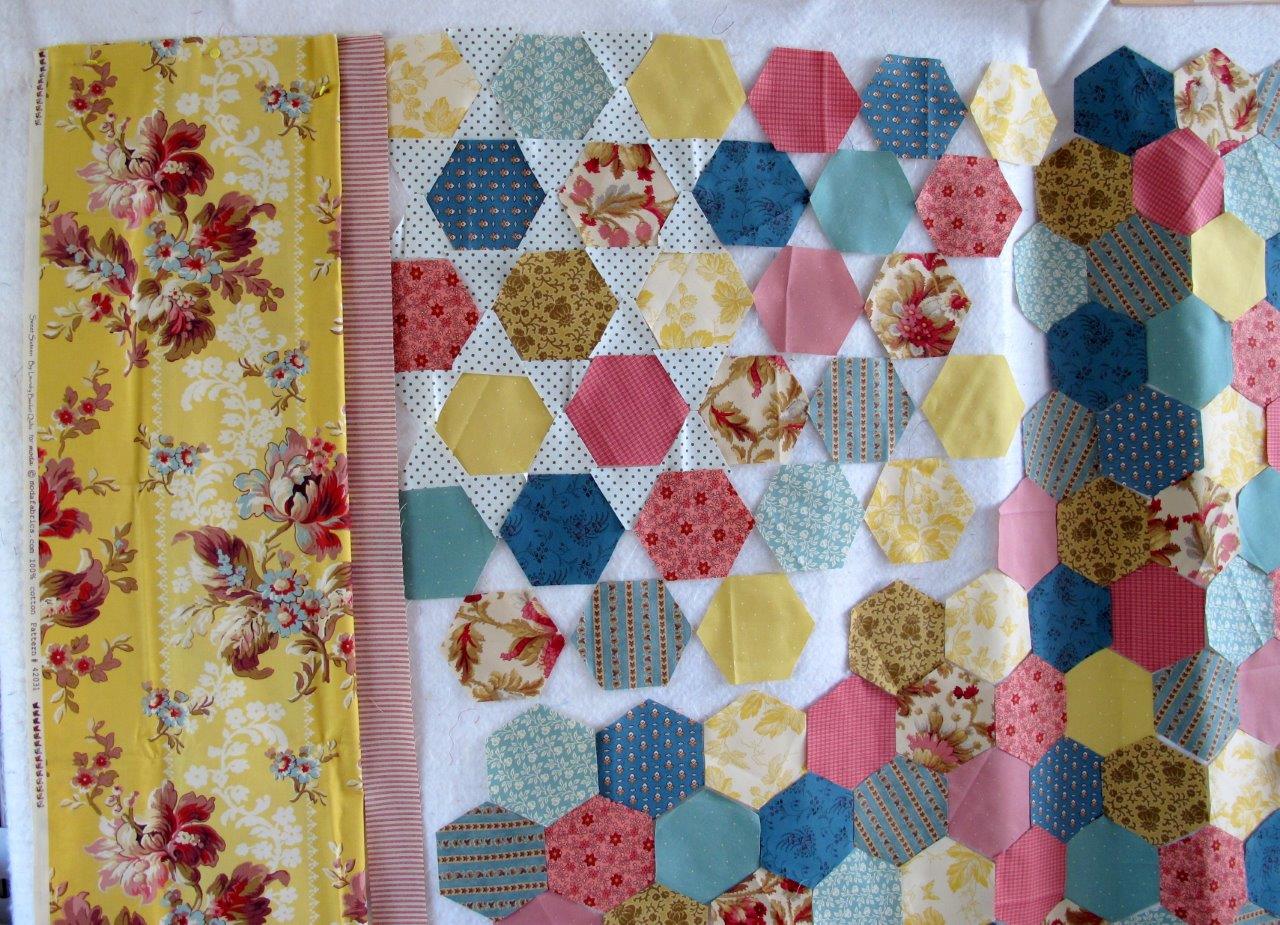
I also tried a different border fabric, ecru with red stripes.
Ik probeerde ook een andere boordstof, ecru met rode strepen.

auditioning different background fabrics
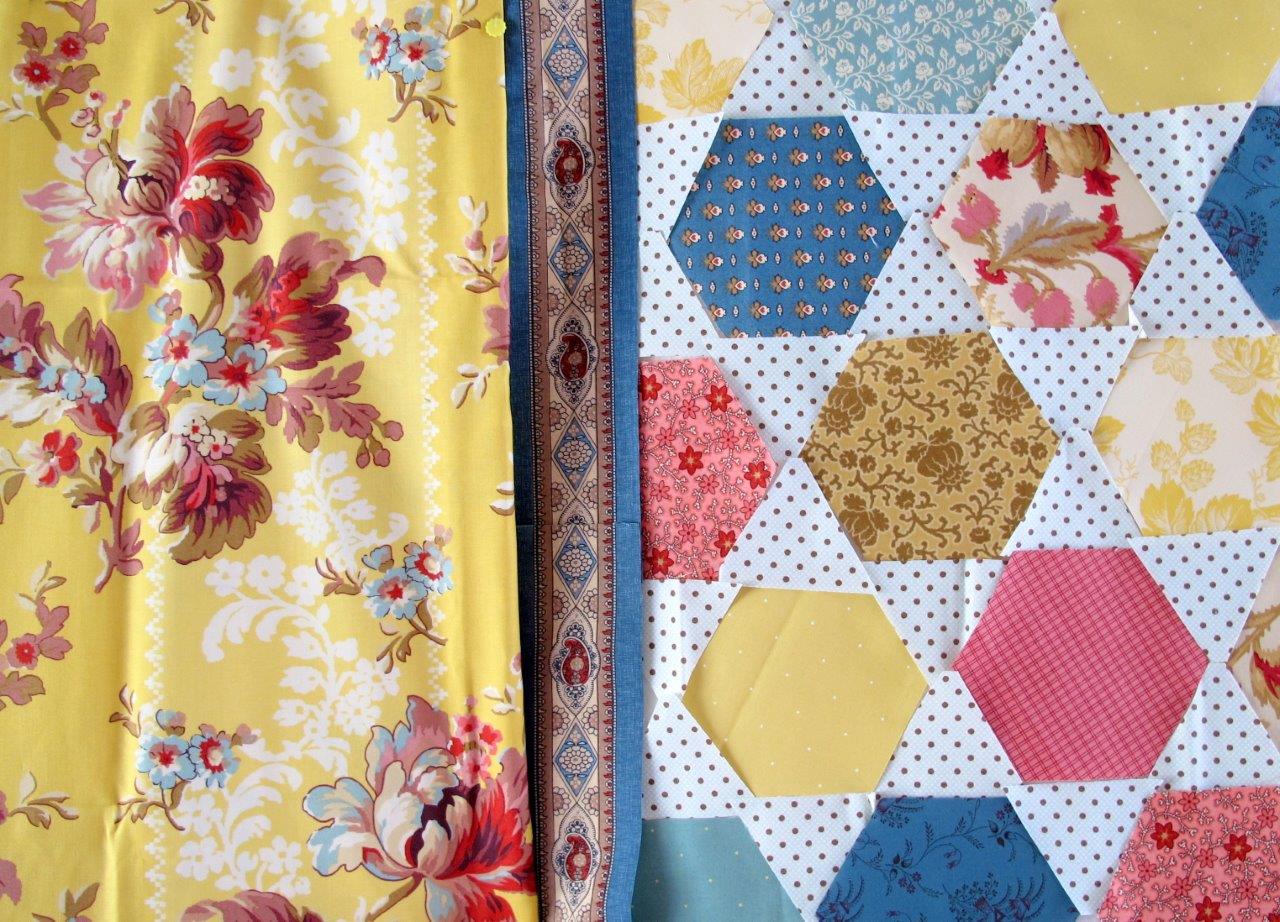
This is a picture of both border fabrics on the blue with brown dots background fabric.
 Op deze foto zie je beide boorstoffen met de blauwe achtergrond met stippen. 


And here with the white (snow actually) background.
Daarna was het de beurt aan de witte (sneeuw eigenlijk) achtergrond.

 With the snow background, I definitely like it better with the striped border.
Met deze achtergrond vind ik het absoluut beter met de gestreepte boord.
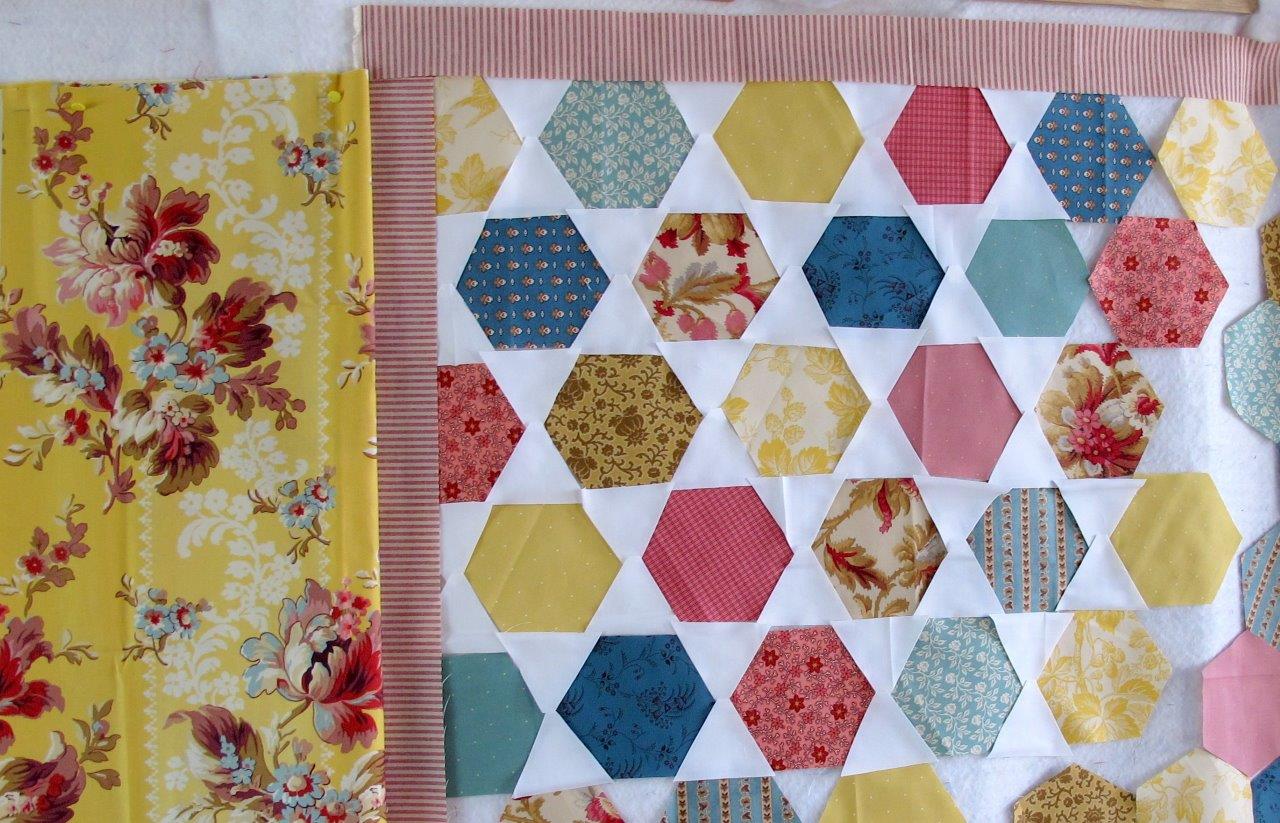
Auditioning different background fabrics


But because the snow background is still very white, I searched for a more yellow fabric in my stash. I think, but am not 100% certain, that this Kona cotton eggshell from Robert Kaufman.

En omdat ik dat toch wat wit vond, zocht ik in mijn voorraad naar een lichte stof die net wat geler is. Ik denk, maar ben niet helemaal zeker, dat deze Kona Cotton eggshell is van Robert Kaufman.


It's very hard to tell the difference between both solid fabrics. Maybe the next picture gives you a better idea: the top 5 rows are snow, the bottom 5 rows eggshell.

Het verschil tussen die beide neutrale achtergronden is natuurlijk moeilijk te zien. Misschien lukt het op deze foto: de bovenste 5 rijen zijn sneeuw, de onderste 5 eierschaal.
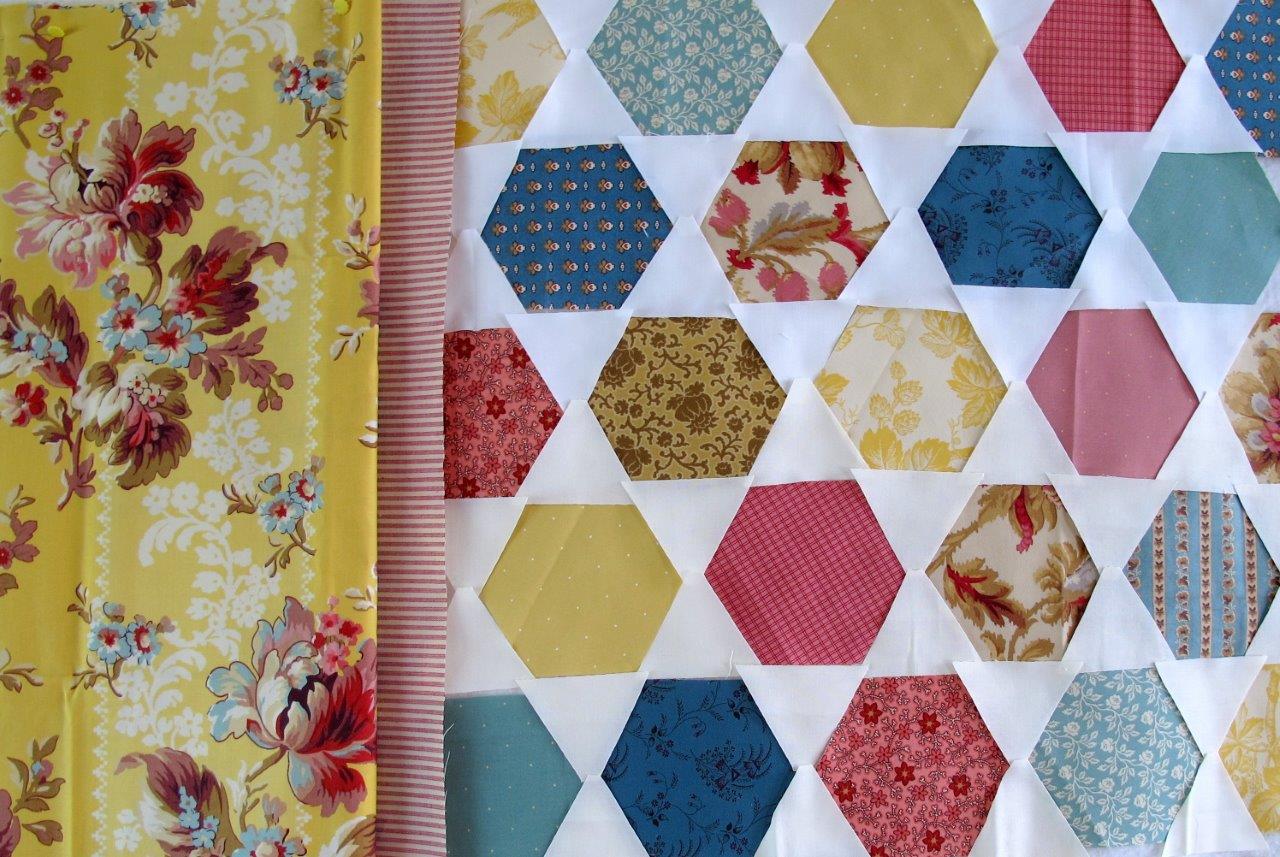
auditioning different background fabrics


So, what do you think: dark border + dots, or striped border + eggshell? Or striped border + dots?

Wat denken jullie: de donkere boord + de stippen, of de gestreepte boord + eierschaal? Of gestreepte boord + stippen?

zondag 8 juni 2014

If, if , if - Als, als, als

Spending a lot of time quilting, as I did these last weeks, also means spending a lot of time thinking while you quilt. These are some of the things I thought about: renovating my house (the things I would change if I had the money!), going on long holidays (the places I would go to if I had the time!) and making a quilt extraordinaire (the breathtaking quilts I would make if I had the talent!).

Vele uren quilten betekent ook vele uren denken terwijl je quilt. Je gedachten gaan alle kanten op, maar dit is waar ik voornamelijk aan dacht: het huis renoveren (wat ik allemaal niet zou doen als ik het geld had!), lange vakanties plannen (waar ik allemaal niet zou gaan als ik de tijd had!) en een uitzonderlijke quilt maken (welke adembenemende quilts ik niet zou maken als ik het talent ervoor had!).

In real life, all this thinking translated into buying new wallpaper for my daughters room (cheaper than renovating the house), booking one week of holidays in Austria (it's a start) and trying out different options for the quilt that is now on my "design wall" (1% inspiration and 99% transpiration is my fate).

In het echte leven leidde al dat gedenk tot de volgende resultaten: nieuw behangpapier kopen voor mijn dochters kamer (goedkoper dan het ganse huis te renoveren), een week vakantie in Oostenrijk boeken (klein begonnen is half gewonnen) en verschillende opties proberen voor de quilt die nu op mijn "designmuur" hangt (1% inspiratie en 99% transpiratie is mijn lot).

This is how this project looked when I blogged about it almost a month ago:
Zo zag dit project er uit toen ik er bijna een maand geleden over blogde:
And now for something completely different...

It hadn't changed much these past weeks because I wasn't very happy with it. I seriously thought about removing everything from the wall and putting it back in a drawer for another couple of years. But I decided to give it another try.

De afgelopen weken veranderde daar niet veel aan want ik was er niet echt gelukkig mee. Ik overwoog sterk om alles van de muur te verwijderen en het ganse project weer voor enkele jaren in de schuif te steken. Maar ik besloot nog een poging te wagen.

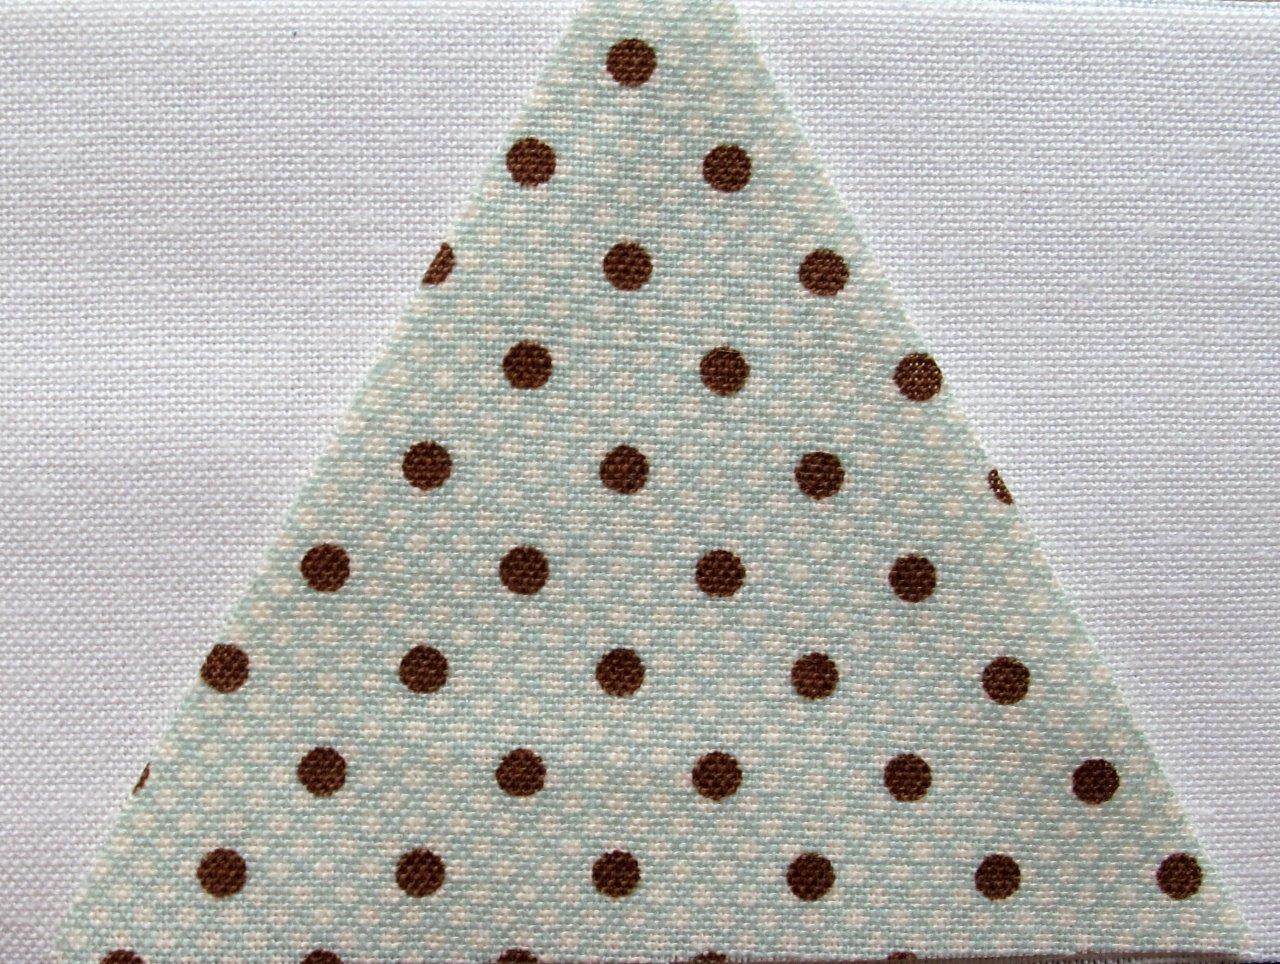
One of the things that bothered me, was the lack of a neutral space, so I tried to find a solution to that. I'm not sure white would work, so I used a light blue fabric with brown dots.

Eén van de dingen die me stoorde, was het gebrek aan neutrale ruimte, daar probeerde ik dus een oplossing voor te vinden. Omdat ik niet zeker was dat wit zou werken, gebruikte ik een lichtblauw stofje met bruine stippen. 
Trying something else

There's still quite some doubt about the dark border fabric. If I would use it, I would make sure only the beige center part would be visible, not the dark blue part. And seeing this picture, maybe I will give this a try with off-white fabric instead of the blue dots.

Er zijn nog altijd behoorlijk wat twijfels over de donkere boordstof. Als die gebruikt wordt, zal in elk geval enkel de beige middenstrook zichtbaar mogen zijn, niet het donkerblauwe stuk. En nu ik deze foto zie, zal ik misschien toch nog eens een versie met een ecru stof in plaats van de blauwe stippen proberen.
Trying something else
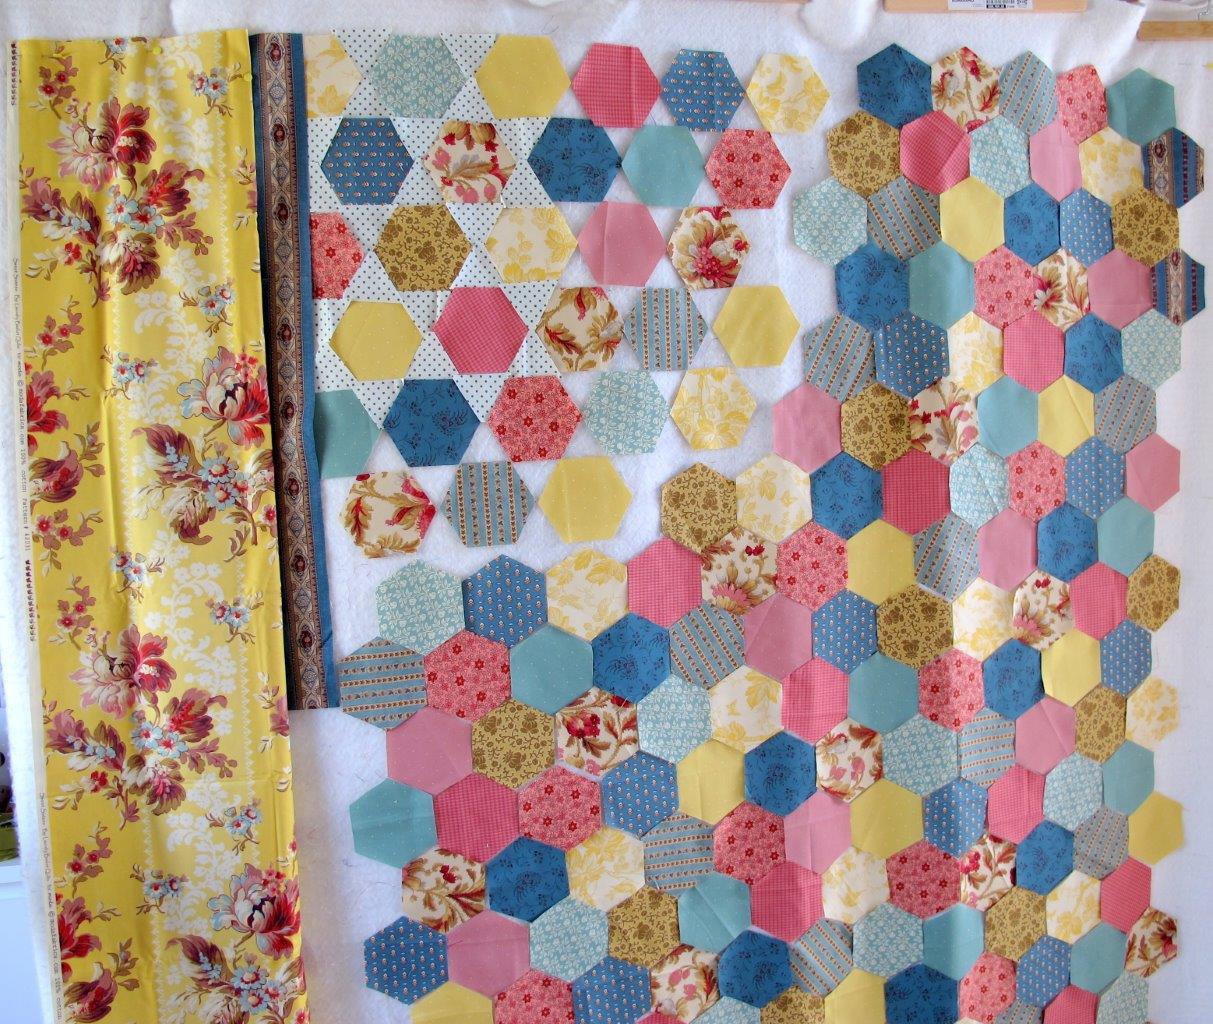
Here you see the new layout on the left, and the old one on the right of the picture. I do prefer the new layout. I think. Tomorrow I'll try yet another version.

Hier is de nieuwe layout links en de oude rechts. Ik zie echt wel liever de nieuwe. Denk ik.  Morgen probeer ik nog een andere versie.


woensdag 21 augustus 2013

Hexies

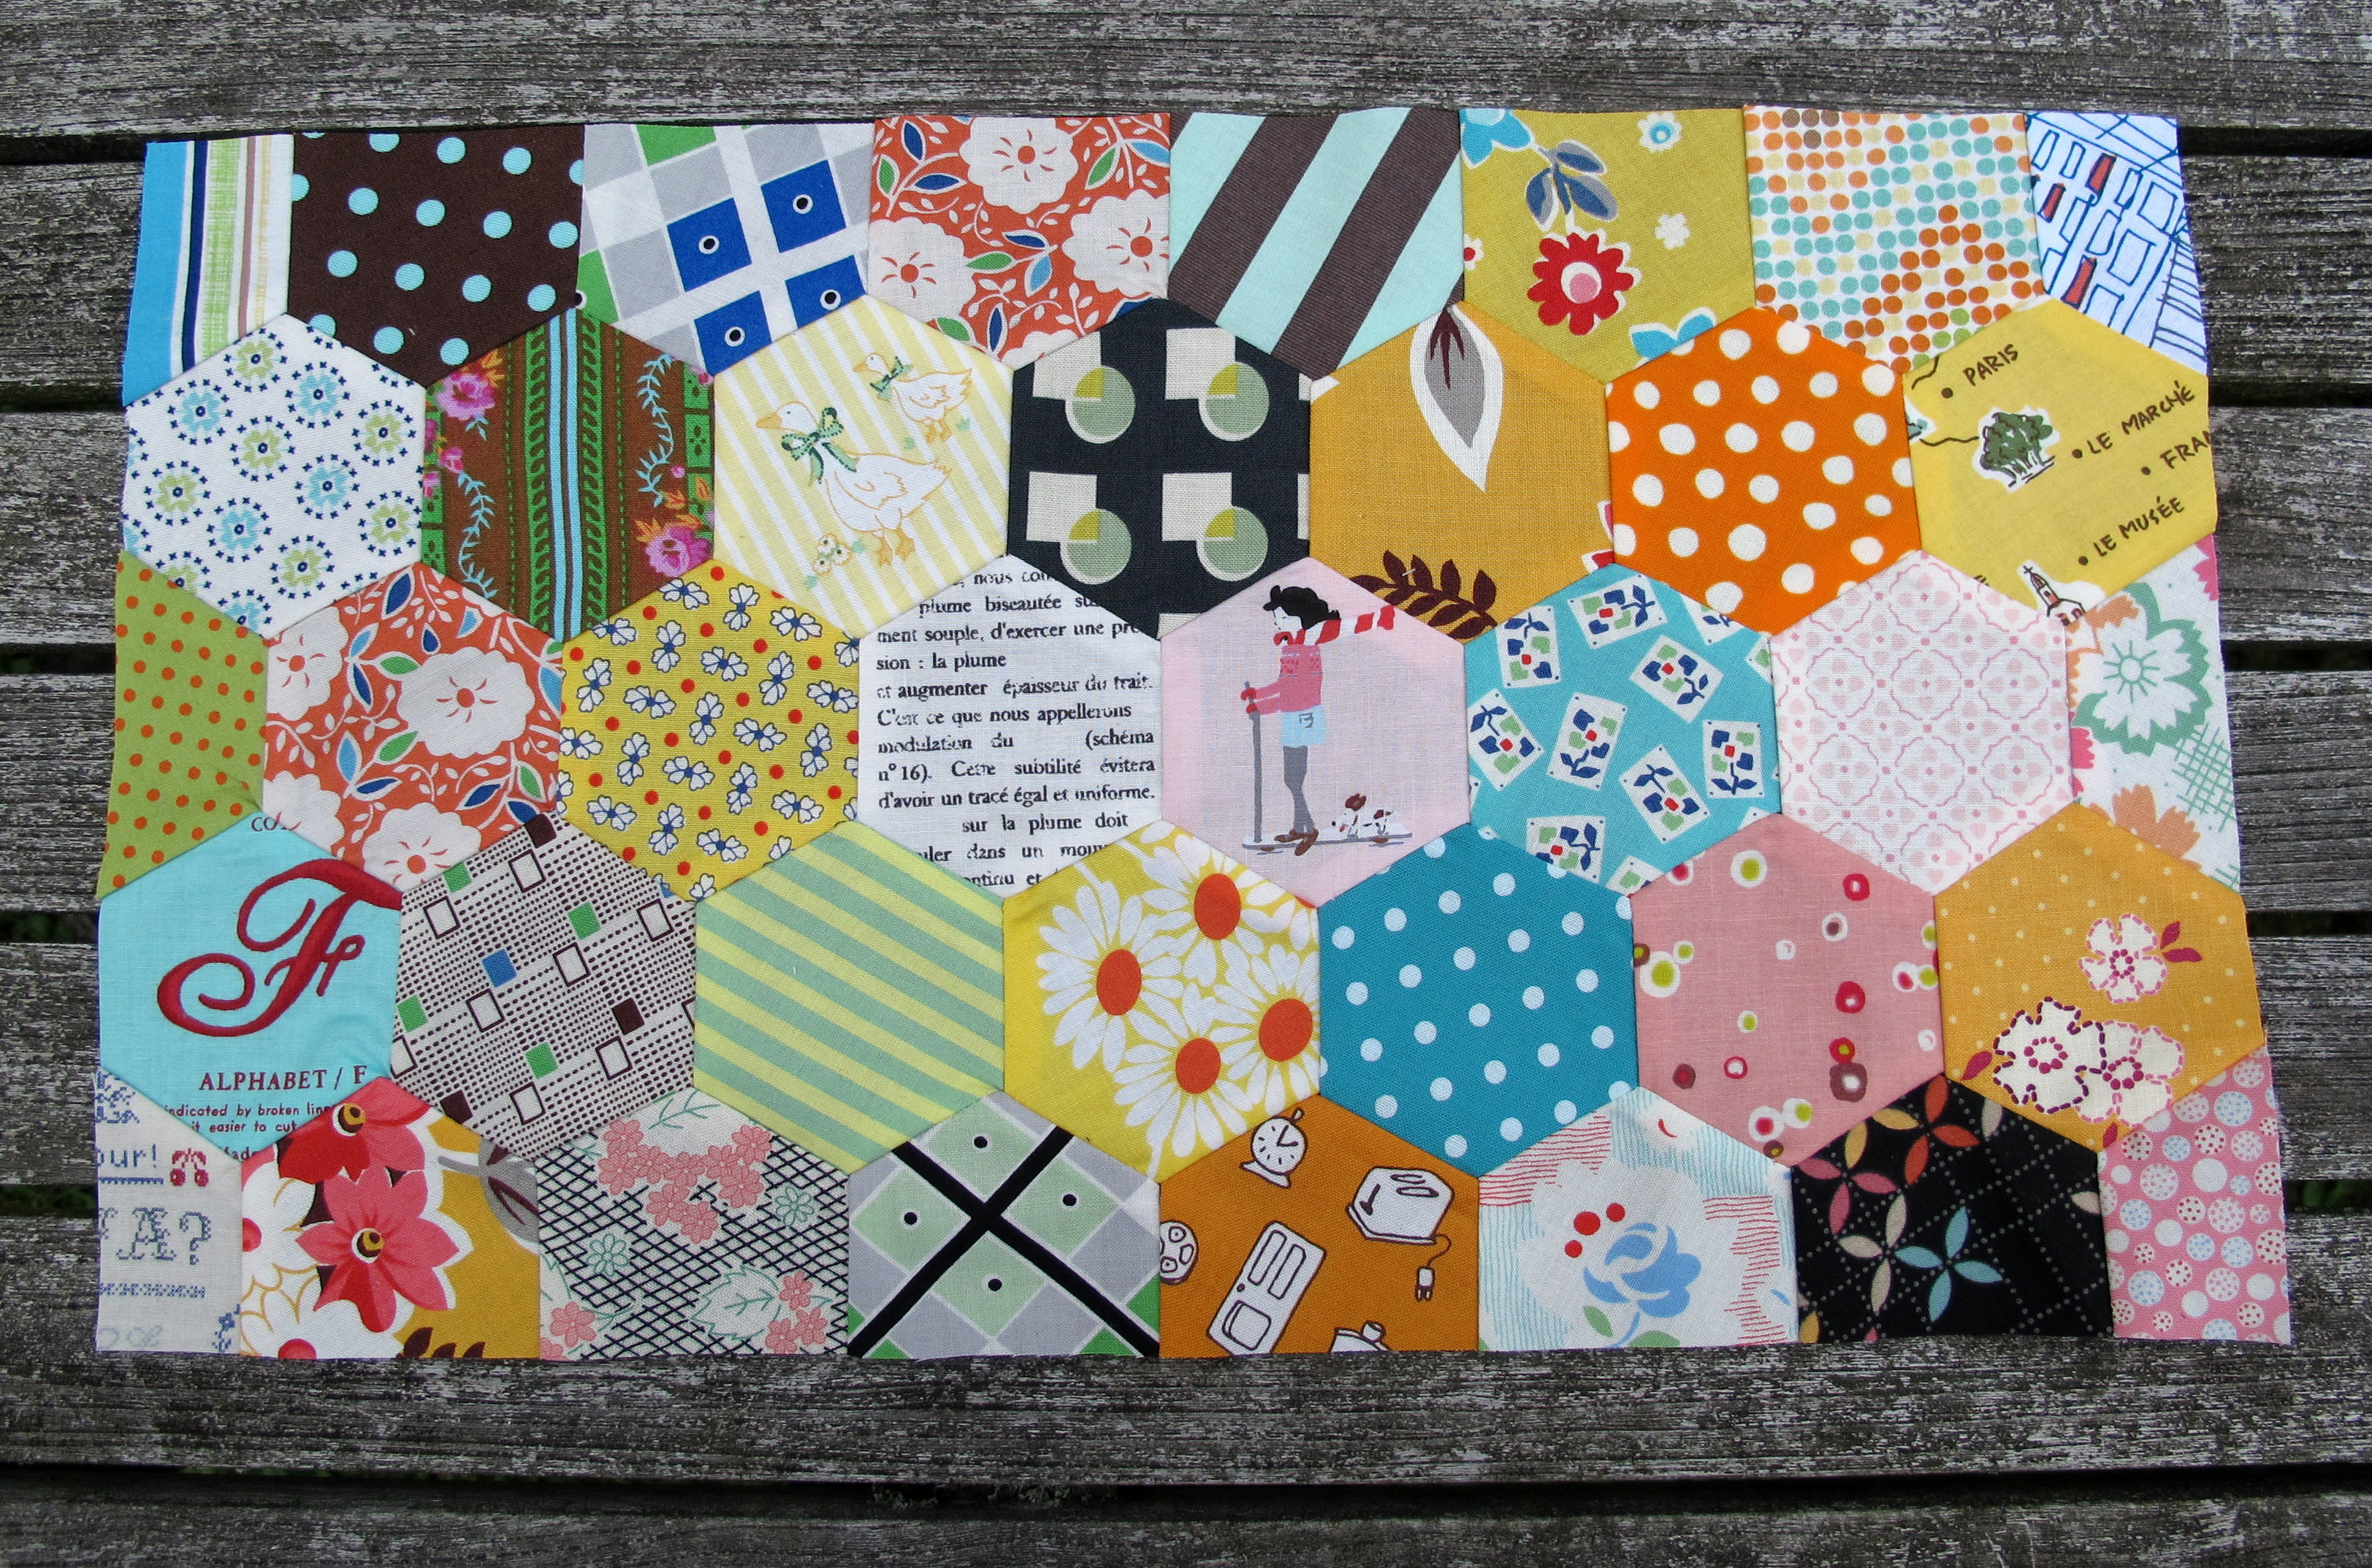
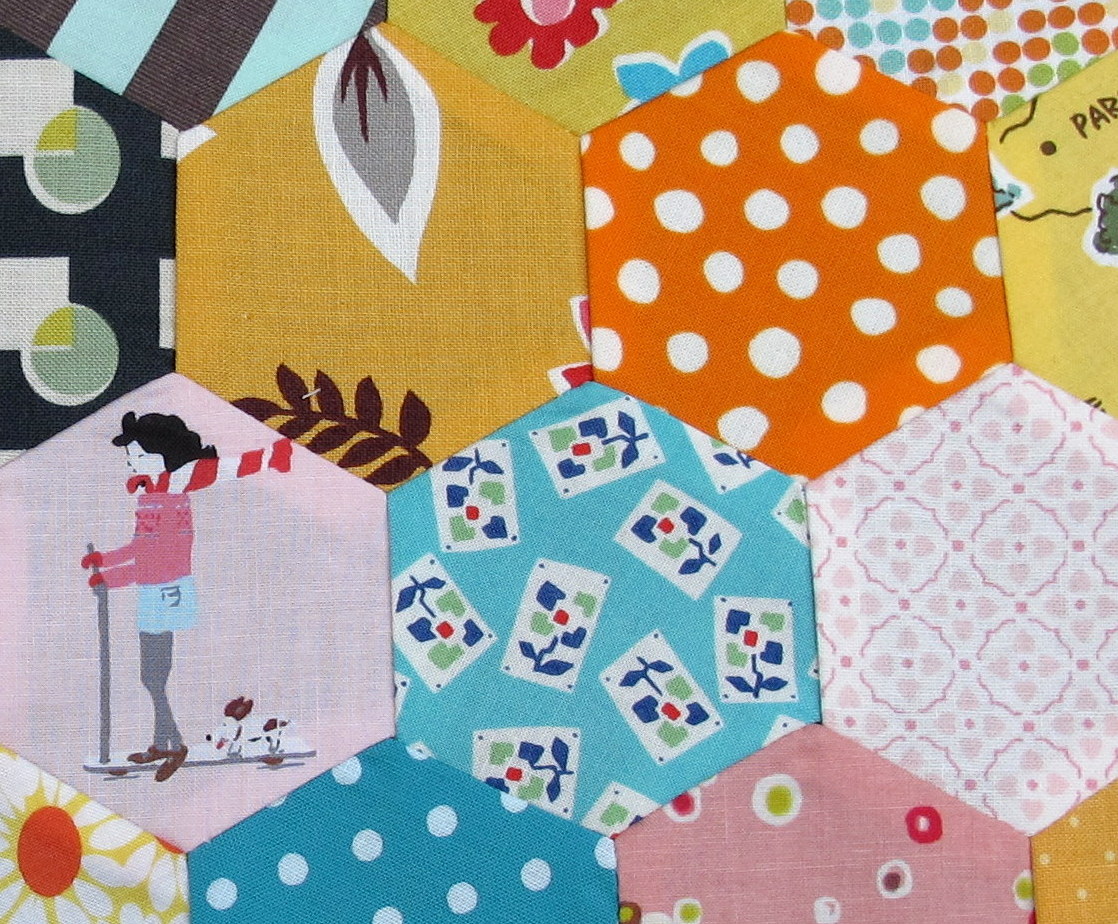
There's a big block with hexies in the middle of the Green tea quilt, and I felt like giving it a try. I have made hexies before, but only in the classic flower pattern and those were completely hand sewn. I was determined to machine stitch everything this time. And it turned out not te be too difficult after all. Patience seems to be the key and the hexies can't be too small, in which case only hand sewing is an option.

De Green Tea quilt heeft een groot blok met hexies, en ik had wel zin me daar eens aan te wagen. In het verleden heb ik al eens hexies gemaakt, maar in de klassieke bloemenvorm en, vooral, helemaal met de hand genaaid. Nu was ik vast van plan alles met de machine te stikken. En dat viel eigenlijk best mee. Geduld lijkt me ook hier de belangrijkste factor en de hexies mogen niet te klein zijn want dan is alleen handwerk een optie. 
Green Tea and Sweet beans hexies


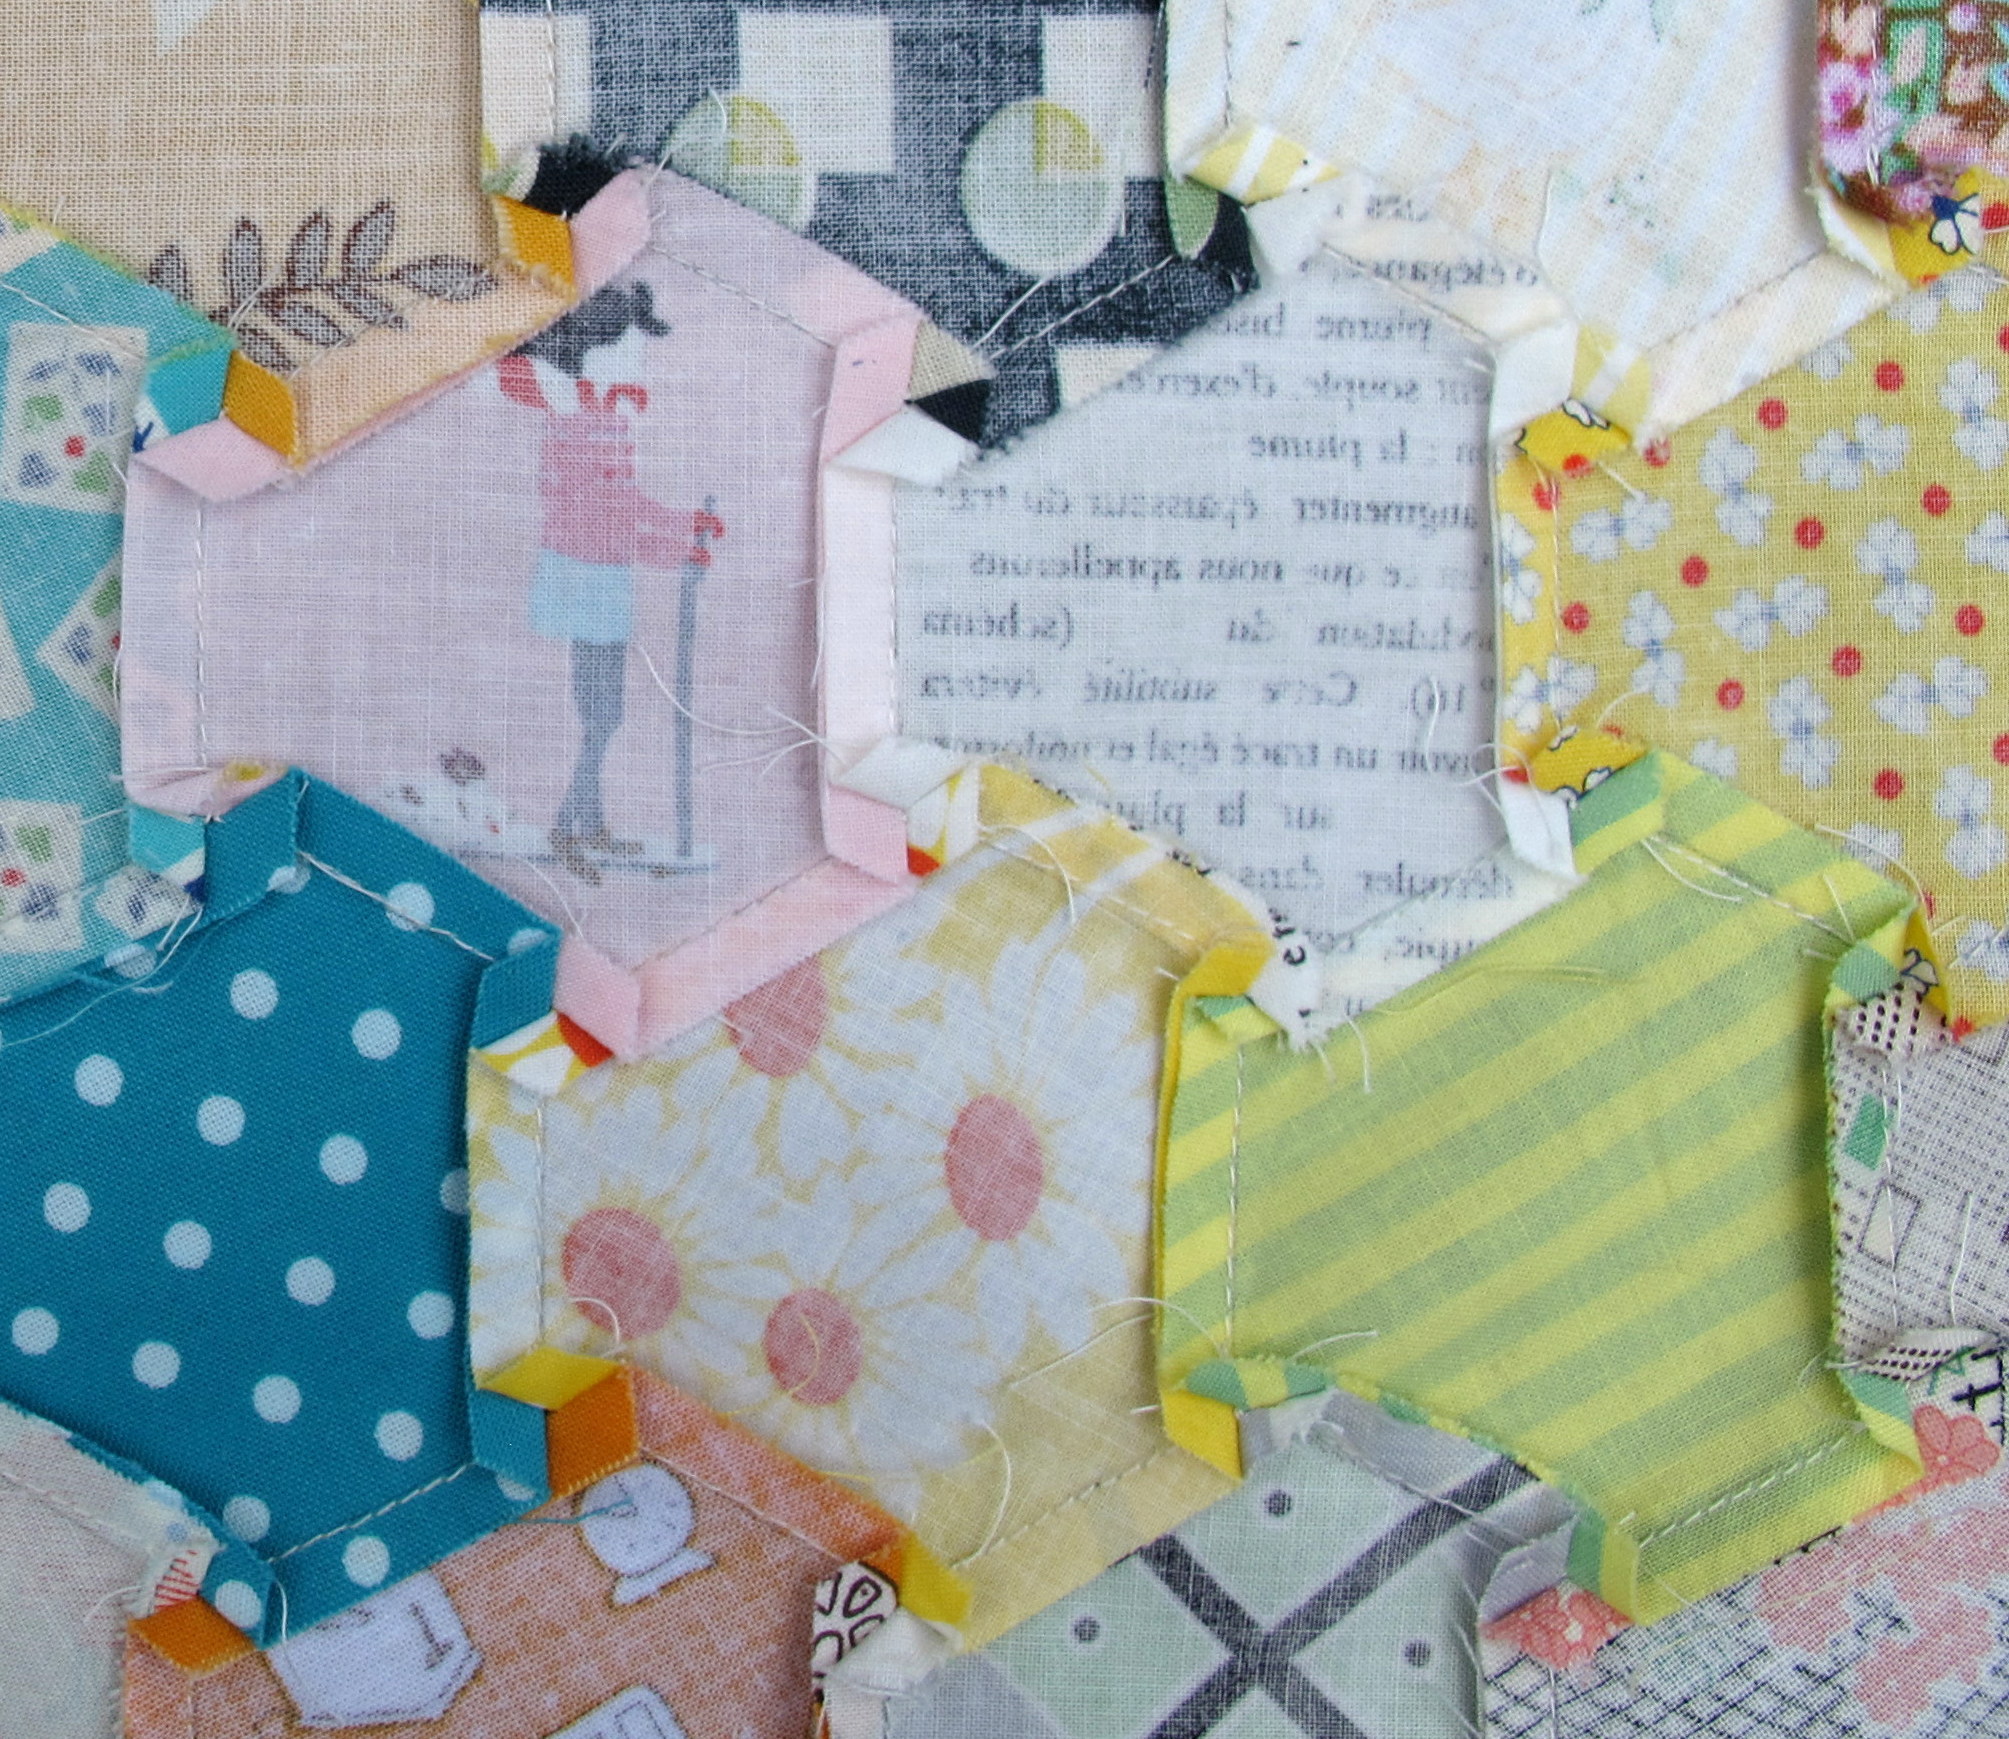
First I cut all the hexies and placed them in the desired lay-out. Then I stitched the middle seams of the first horizontal row, then the second row, and so on. That's really easy, you only have to make sure nog to stitch the seam allowances on the top and bottom of the seam. Stitching the rows together is a bit more complicated and because one image says more than a thousand words, I prefer linking to this excellent video by Liz "Lady Harvatine". I do one thing different: I never stitch through a seam allowance. As the following picture shows, this enables the seam allowances to fold open and ensures a nice and flat block.
 
Eerst knipte ik alle hexies uit en legde ze in de goede volgorde. Daarna stikte ik de eerste horizontale rij in het midden aan mekaar, dan de tweede rij, enzovoort. Dat is heel makkelijk, je moet er enkel op letten om de naadtoeslag boven en beneden niet mee te stikken. Het aan elkaar stikken van de rijen is wat ingewikkelder en omdat beelden meer zeggen dan woorden, verwijs ik graag naar deze uitstekende video van Liz "Lady Harvatine". Ik doe wel één ding anders: ik stik nooit de naadtoeslagen door. Zoals je op deze foto kan zien, kunnen de naadtoeslagen op de achterkant daardoor mooi open plooien, waardoor alles goed plat komt te liggen.
Green tea hexies
Green tea hexies

This is block nr. 17 of the Green Tea quilt, 31 more to go.
Dit is het zeventiende blok van de Green Tea quilt, nog 31 te gaan.

maandag 18 juni 2012

Liesel's Hexagon Technique

A couple of weeks ago, I saw the book "Liesel's Hexagon technique" in my LQS, by Hilde Knatt and Liesel Niesner. I looked it up on the internet and found a Dutch shop, Lohuis-Tijhuis, that sold it online. It arrived today.


The book dates from 2001 and this is a reprint from 2011. It gives a very detailed explanation about paper piecing, paper templates, how to draw templates (from triangle to octagon) and so on.Best of all, it also has examples of patterns and pattern sheets.You just have to take a copy of the pages and start colouring. It really gives you the possibility to play around with different designs.


I'm glad I found this book, it's very practical and gives a lot of tips and step-by-step instructions.

donderdag 17 mei 2012

How to fold perfect paper templates: hexagons, diamonds and triangles

To celebrate my new blog, I thought it would be a good idea to post a small tutorial. And with all the quilting activity going on for which you need templates, maybe a tutorial on how to fold templates from an A4 size paper would come in handy.

An A4 size has exactly these dimensions: 297 mm long and 210 mm wide. Equivalent size in inches is 11.69" long and 8.27" wide. These dimensions are not so important, but the lenght-width ratio is. What is really special about an A4 is that the lenght-width ratio stays the same when you cut it in half, and again the same when you cut the half in half and so on. So with just an A4, you can make templates in different sizes that all fit together.

Lets start showing how to fold a simple diamond.

Take an A4 size paper.


Fold in half. 


 Fold every side again in half.


Take the upper corner of every side. Fold the point of the right corner exactly on the right side fold and the point of the left corner exactly on the left side fold. Make sure the upper middle is perfect. I hope the picture helps :-)


 Next, take the lower left (or right if you prefer) corner and fold up. The left point should be very sharp (no folding over the point) and the lower left corner should align exactly like shown on the picture.


 Same for the other side.


 Turn. Tadaa! A perfect diamond template!


 Here you see the different template sizes you get when you start with half an A4 size paper, and 1/4 of an A4 size paper.


From this diamond, we can move on: if you fold your diamond in half, you get a perfect 60° triangle.


And starting from your diamond, you can also make perfect hexagons by folding the right side point and left side point exactly to the middle.


 And here you have a set of four perfect hexagons, that fit perfectly with the folded diamonds and triangles!


You can trace the templates on paper if you want to use them for paper piecing, or make plastic templates using them.

Next time I'll show how to fold a kite and a pentagon from an A4 size paper.

Related Posts Plugin for WordPress, Blogger...