Posts tonen met het label project. Alle posts tonen

maandag 30 april 2018

A blue postage stamp quilt

It has been a while that I have wanted to make a postage stamp quilt with blue fabrics. And so I selected 80+ blue fabrics (some not much bigger than scraps) to cut into 2 inch wide strips.

After cutting all the fabrics, and sewing them together, and cutting them in strips, and sewing the strips together again to make the blocks, I discovered I had not enough blocks to make a big quilt. And so I started the whole process once again: take the fabric, iron, cut, fold, put away. 80 times, two Sundays. And I had yet to start piecing.

The squares are 1.5 inch finished, the fabrics are both old and new, many Denyse Schmidt and many different others too.


 A postage quilt looks simple, and it is, but there is so much to cut and piece and cut again and piece again, there seems to be no end to it! Luckily for me, this weekend is a long one with a national holiday, so I had four whole days off from work! Those were well used to finaly piece the whole quilt.


The quilt measures 140x200cm, which means is is big enough to use on a single bed. Or as a very generous lap quilt. We'll see. Now I have to find a backing fabric (something grey I think) and start quilting.


zondag 1 mei 2016

One border added - Eén boord toegevoegd

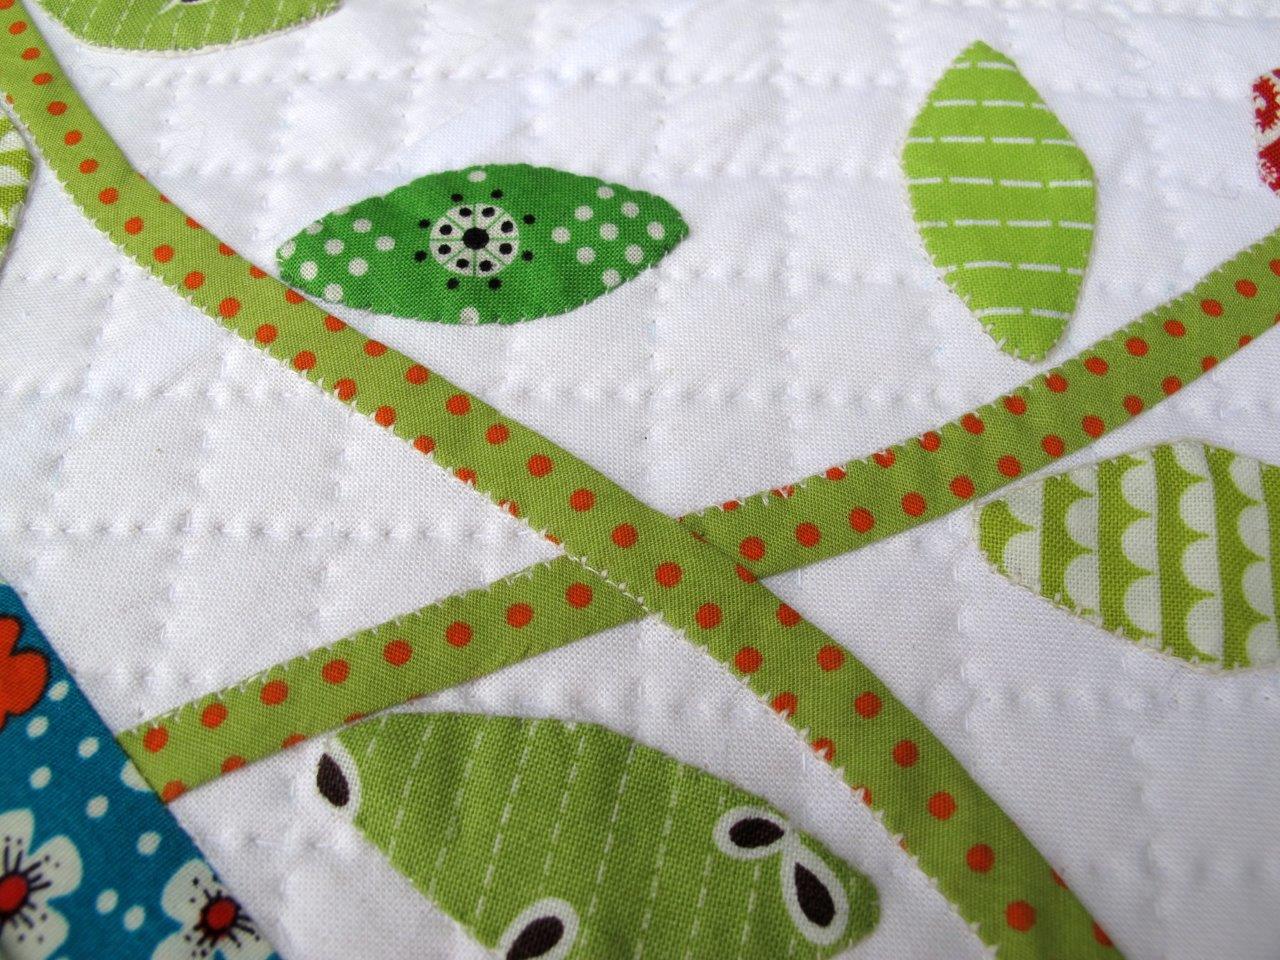
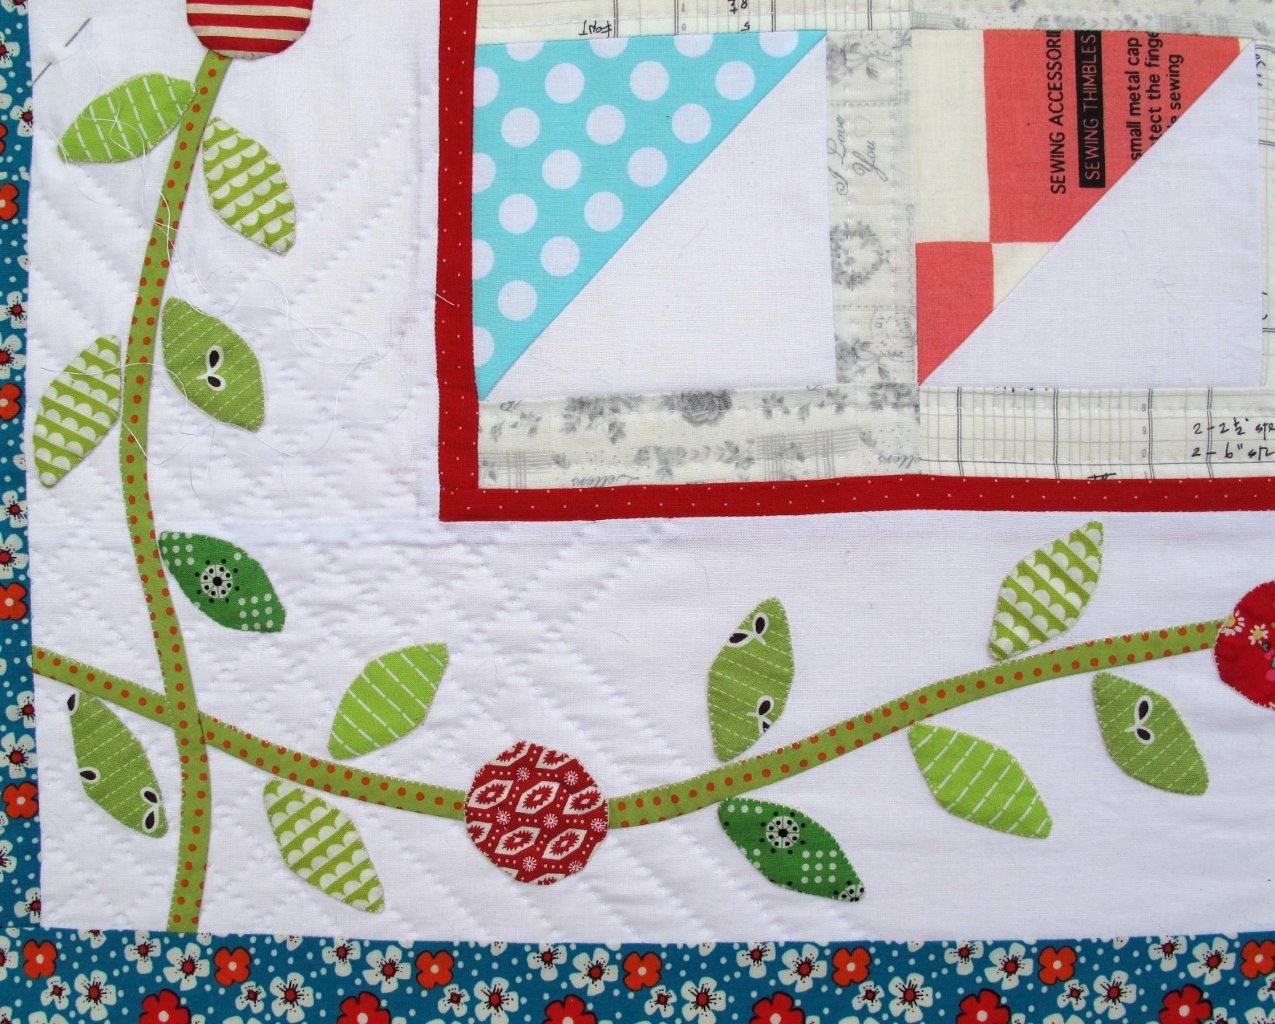
All the orange peels are finished and the four borders added to bee quilt. I'm quite happy with the result.

Alle blaadjes zijn afgewerkt en de vier boorden aan de quilt gestikt. Ik ben best tevreden met het resultaat.


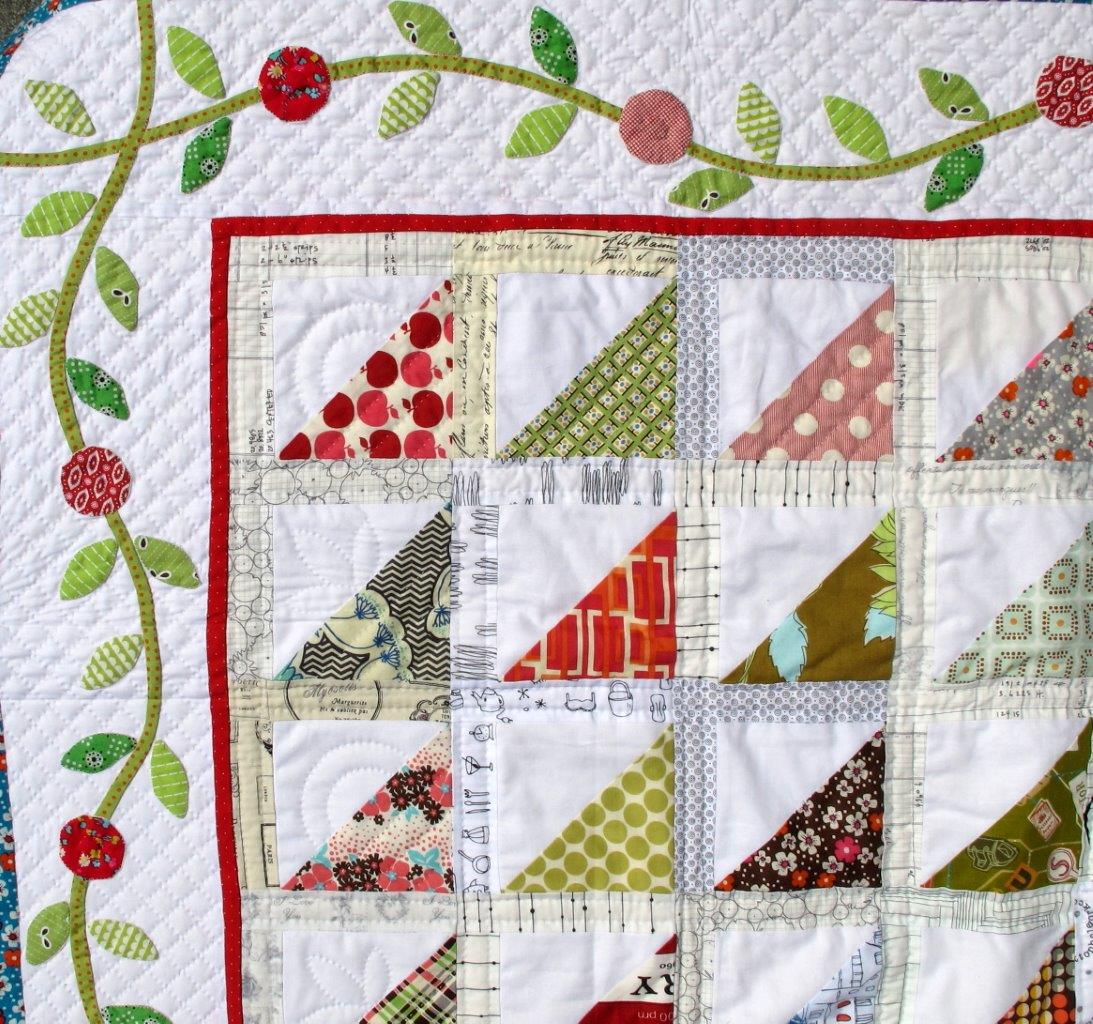
As always, I did not really have a plan before adding the orange peels. No plan means no measurements. This resulted in not being able to  continue the orange peels around the corners, because to do that, I should have made a plan before sewing and as always, that was too much to ask.  I solved this by adding a flower in avery corner, using leftover flowers and leaves from my HST quilt. It is a scrap quilt after all.

Zoals gewoonlijk had ik geen plan gemaakt alvorens de blaadjes aan de quilt te naaien. Geen plan en dus geen afmetingen. Daardoor kon ik het patroon van de blaadjes niet laten laten doorlopen in de hoeken. Daarvoor had ik eerst moeten nadenken en dan naaien, maar dat bleek weeral eens te veel gevraagd. Ik loste het probleem op door in elke hoek een bloem te naaien,  waarvoor ik overschotjes gebruikte van mijn HST quilt. Het is en blijft immers een restjesquilt.


The quilt measures 130cm x 170 cm now, so I want to add a a second border. How that will look, is still a mystery to me. Ideas are welcome :-)

De quilt meet nu 130cm x 170cm, dus ik wil graag nog een tweede boord toevoegen. Hoe die eruit zal zien is ook voor mij nog een raadsel. Alle ideeën zijn welkom :-)

zondag 15 juni 2014

The outer border - De buitenste boord

At the moment, I'm jumping between two quilts: the yellow hexagon quilt and the HST quilt. Since I'm waiting for extra fabric for the hexagon quilt, it's back to the HST for now.

Momenteel spring ik van een quilt naar een andere: van de gele hexagoon quilt naar de HSt quilt. Vermits ik wacht op extra stof voor de hexagoon quilt, is het voorlopig terug naar de HST. 


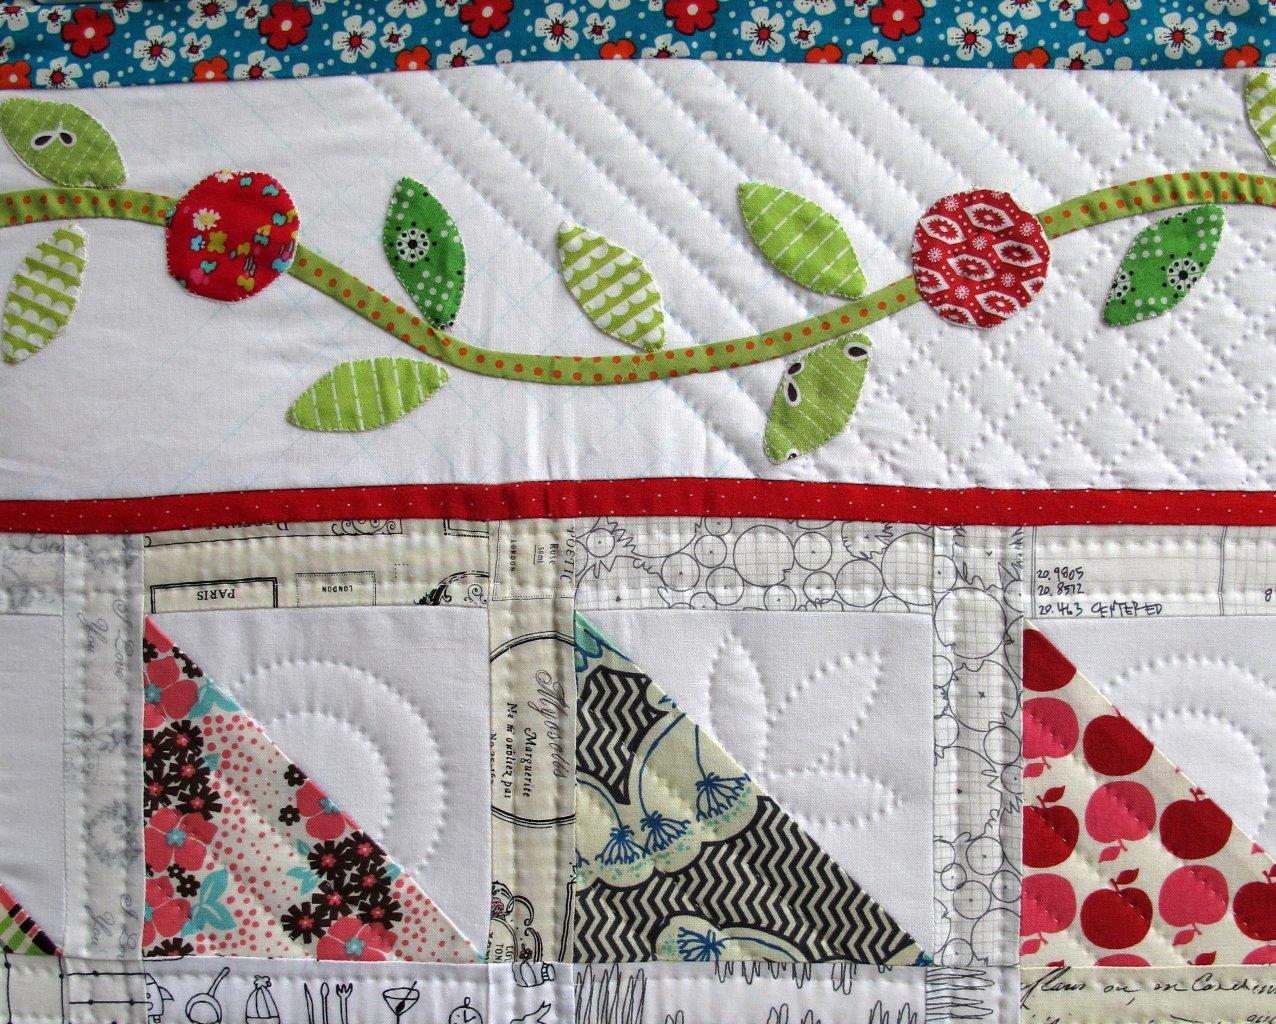
As you can see, the HST quilt has 3 borders: a very narrow red one, a broad white one and finally a blue one. I have been busy quilting the white one these past weeks, but the blue one also needs to be quilted. 

Zoals je kan zien heeft de HST quilt 3 boorden: een hele smalle rode, een brede witte en tenslotte een blauwe. De afgelopen weken heb ik naarstig gequilt aan de witte boord, maar ook de blauwe moet nog gequilt worden.
a quilting template for the outer border

This is the quilting template I made according to the pattern from Quilts Japan.
Dit is het quilttemplate dat ik maakte volgens het patroon van Quilts Japan.

a quilting template for the outer border

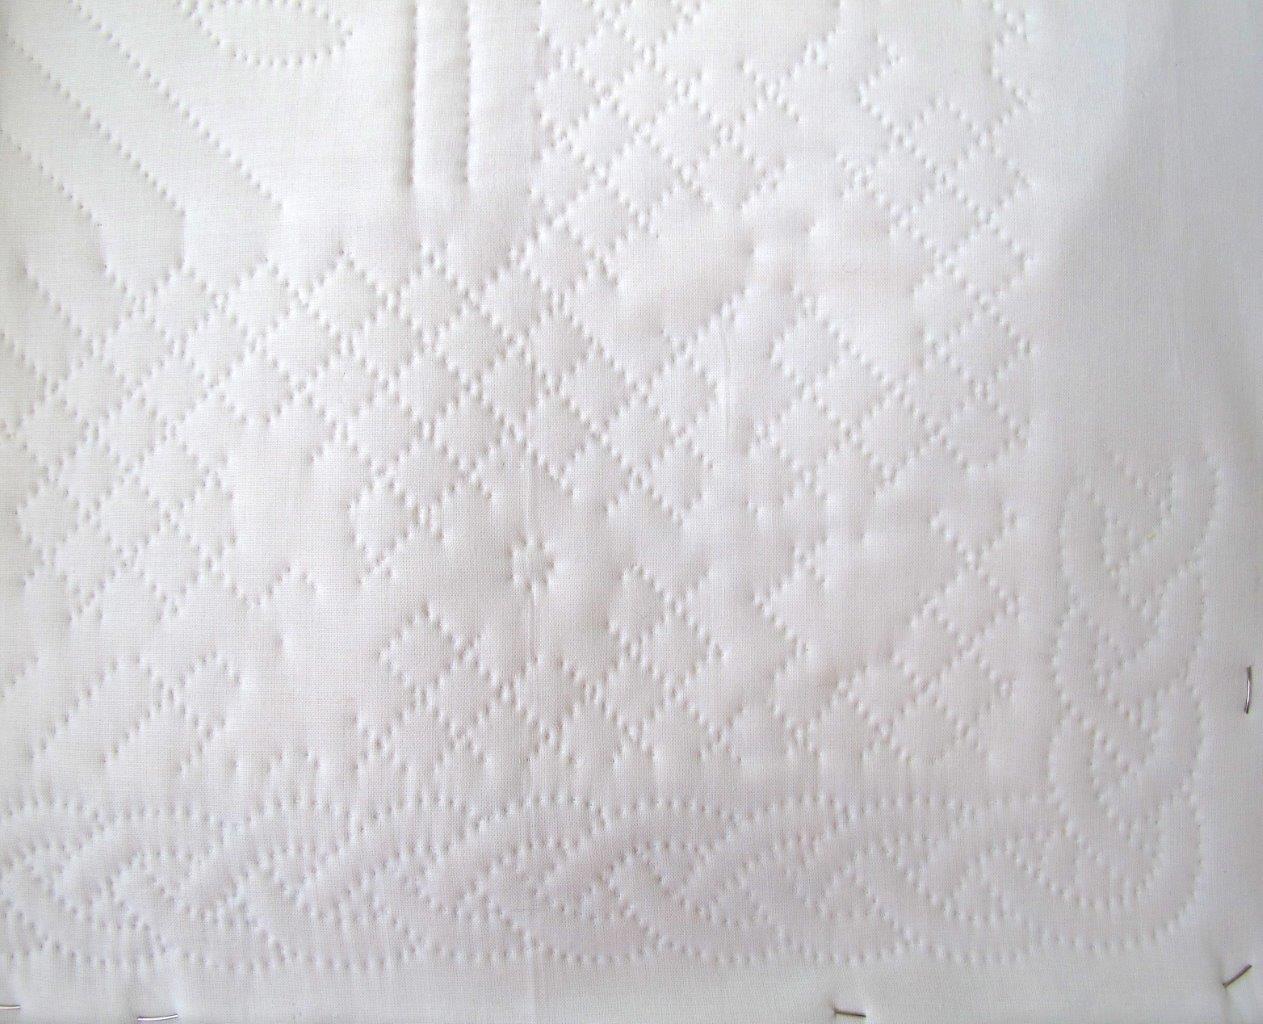
And this is how it looks on the back from the quilt with a first corner from the outer border quilted. I like it, although this means a lot of extra quilting hours will be needed.

En zo ziet het er uit van de achterkant met een eerste hoek van de buitenste boord gequilt. Ik ben er behoorlijk mee opgezet, alhoewel het nog heel wat extra uren quilten betekent.

maandag 9 juni 2014

Snow, eggshell or dots? - Sneeuw, eierschaal of stippen?

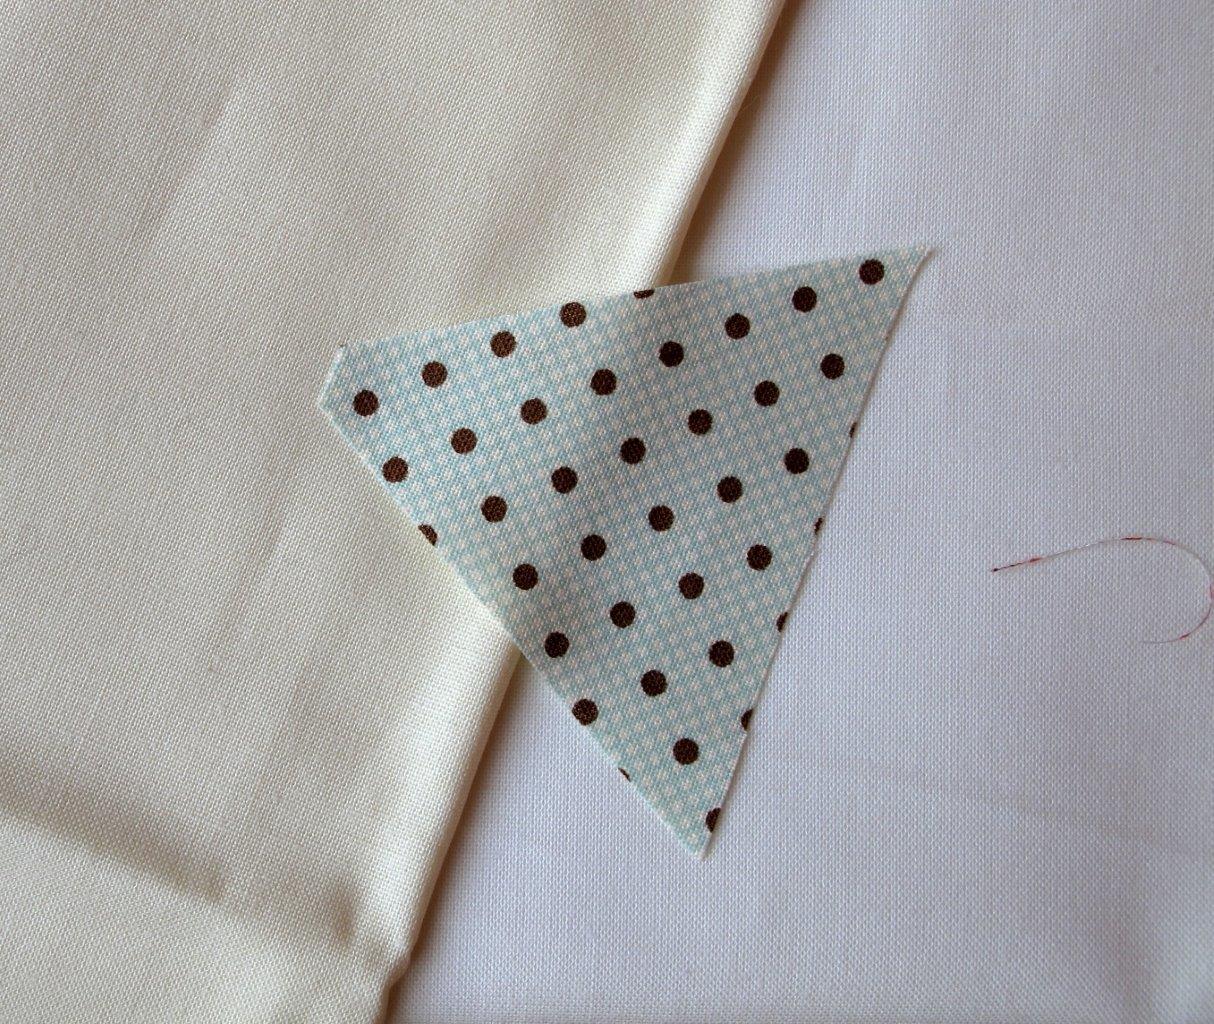
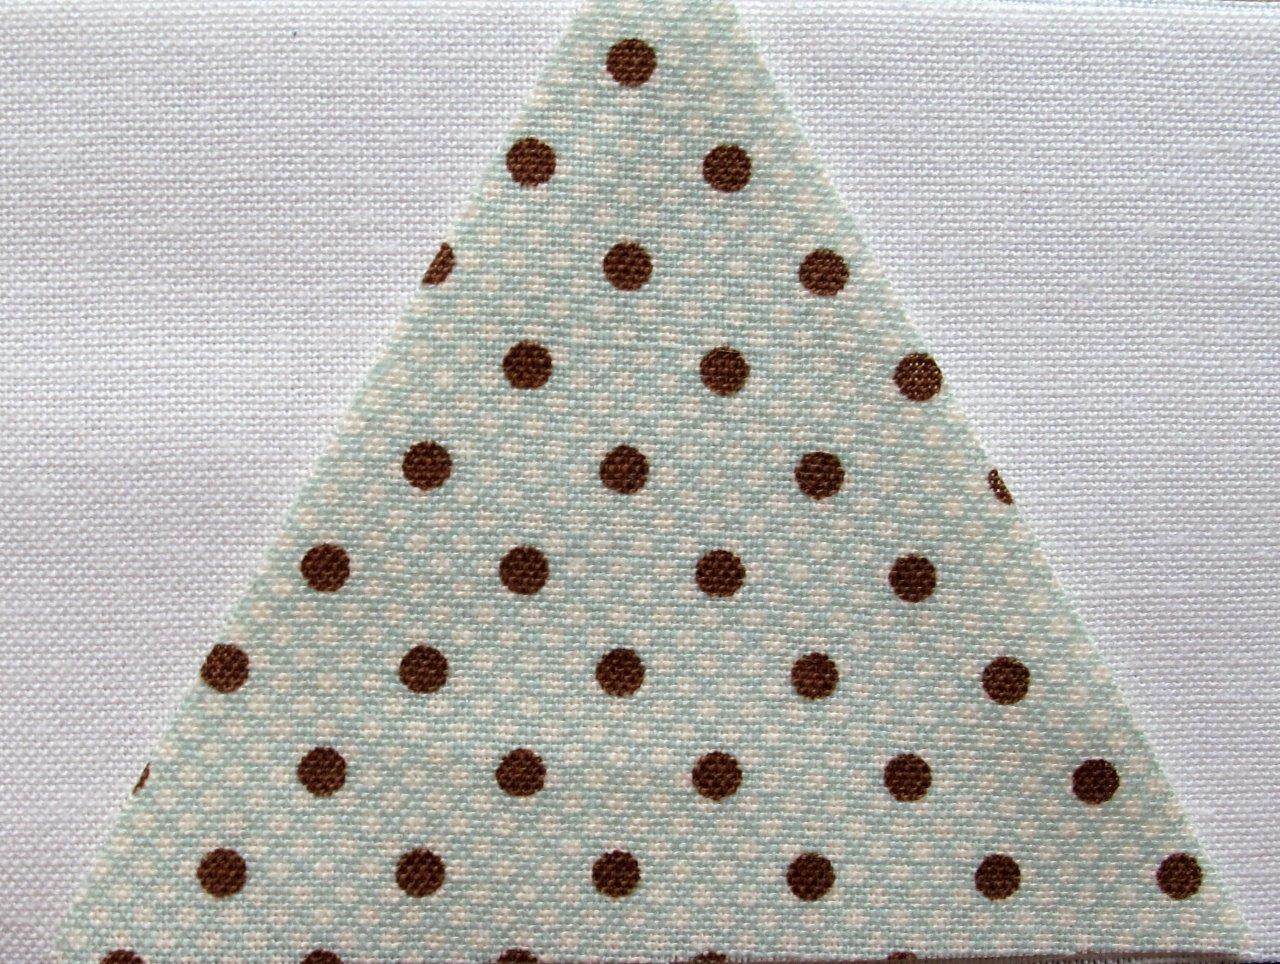
Today was auditioning time for some other background fabrics for the yellow hexagon quilt (see also this and this post), solids this time. A bit more neutral, but maybe also a bit duller. Left on the picture is eggshell, right snow and in the middle a piece of the blue and brown dot fabric. I hope the difference shows on your computer. Colours are so difficult to get right on a picture.

Vandaag werden weer enkele achtergrondstoffen uitgeprobeerd, ditmaal effen stoffen (zie ook deze en deze blogpost). Nog neutraler dus. En misschien ook wat saaier. Links op de foto zie je eierschaal, rechts sneeuw en in het midden een stukje blauw met bruine stippen. Ik hoop dat het verschil duidelijk is op de foto. Kleuren zijn zo moeilijk te fotograferen.
auditioning different background fabrics

Here again on a snow background.
Hier nogmaals op de witte achtergrond.

auditioning different background fabrics

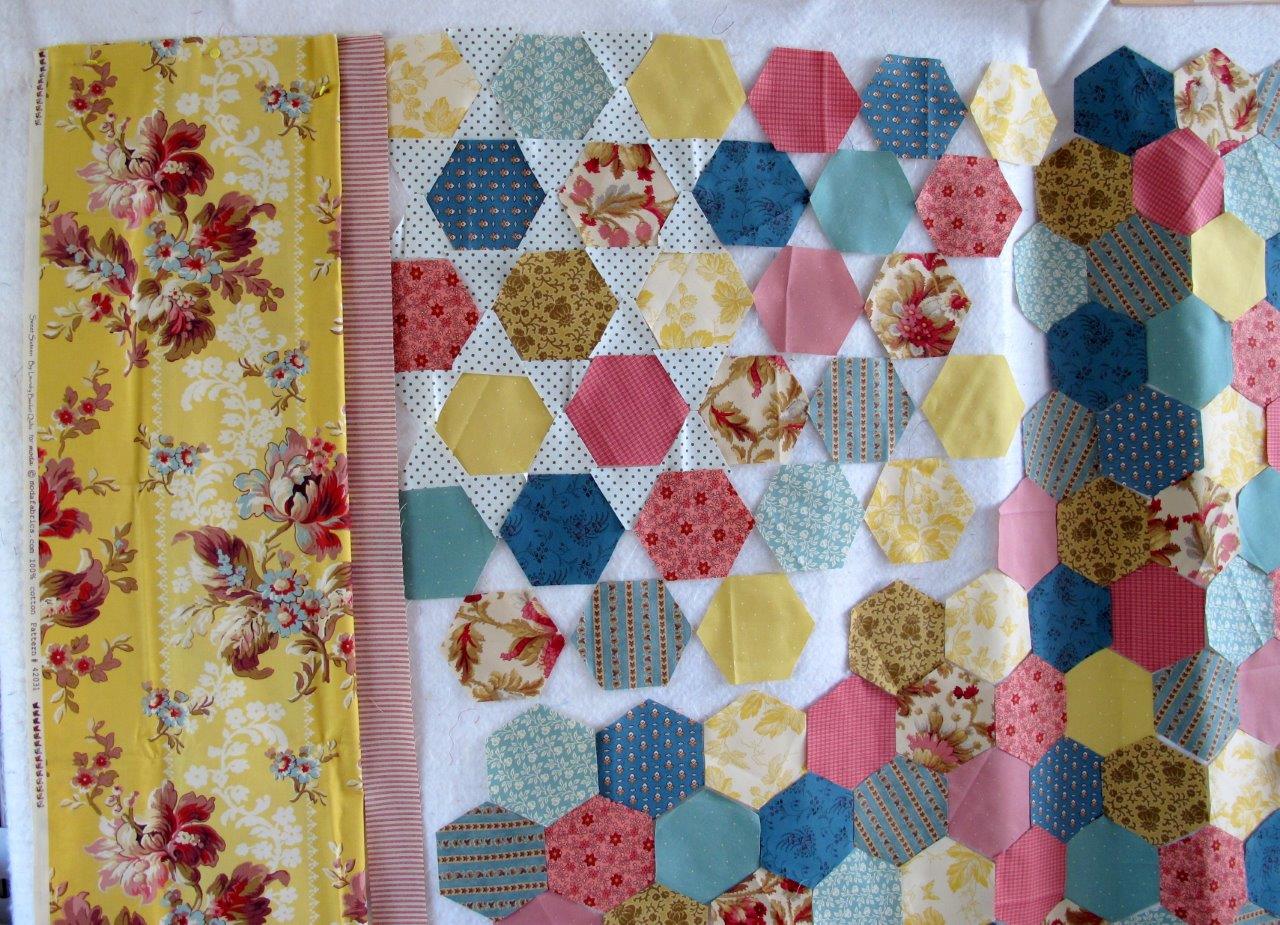
I also tried a different border fabric, ecru with red stripes.
Ik probeerde ook een andere boordstof, ecru met rode strepen.

auditioning different background fabrics
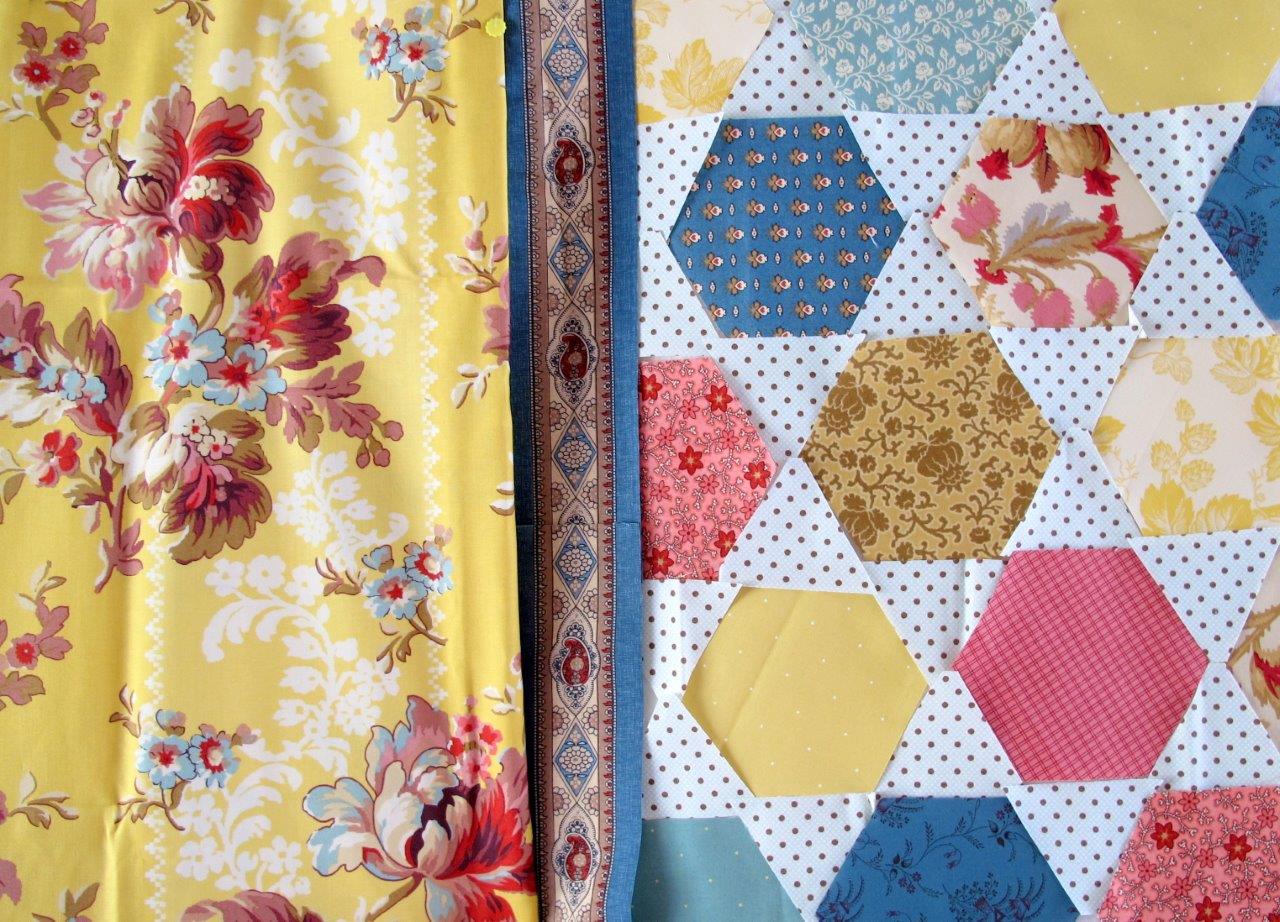
This is a picture of both border fabrics on the blue with brown dots background fabric.
 Op deze foto zie je beide boorstoffen met de blauwe achtergrond met stippen. 


And here with the white (snow actually) background.
Daarna was het de beurt aan de witte (sneeuw eigenlijk) achtergrond.

 With the snow background, I definitely like it better with the striped border.
Met deze achtergrond vind ik het absoluut beter met de gestreepte boord.
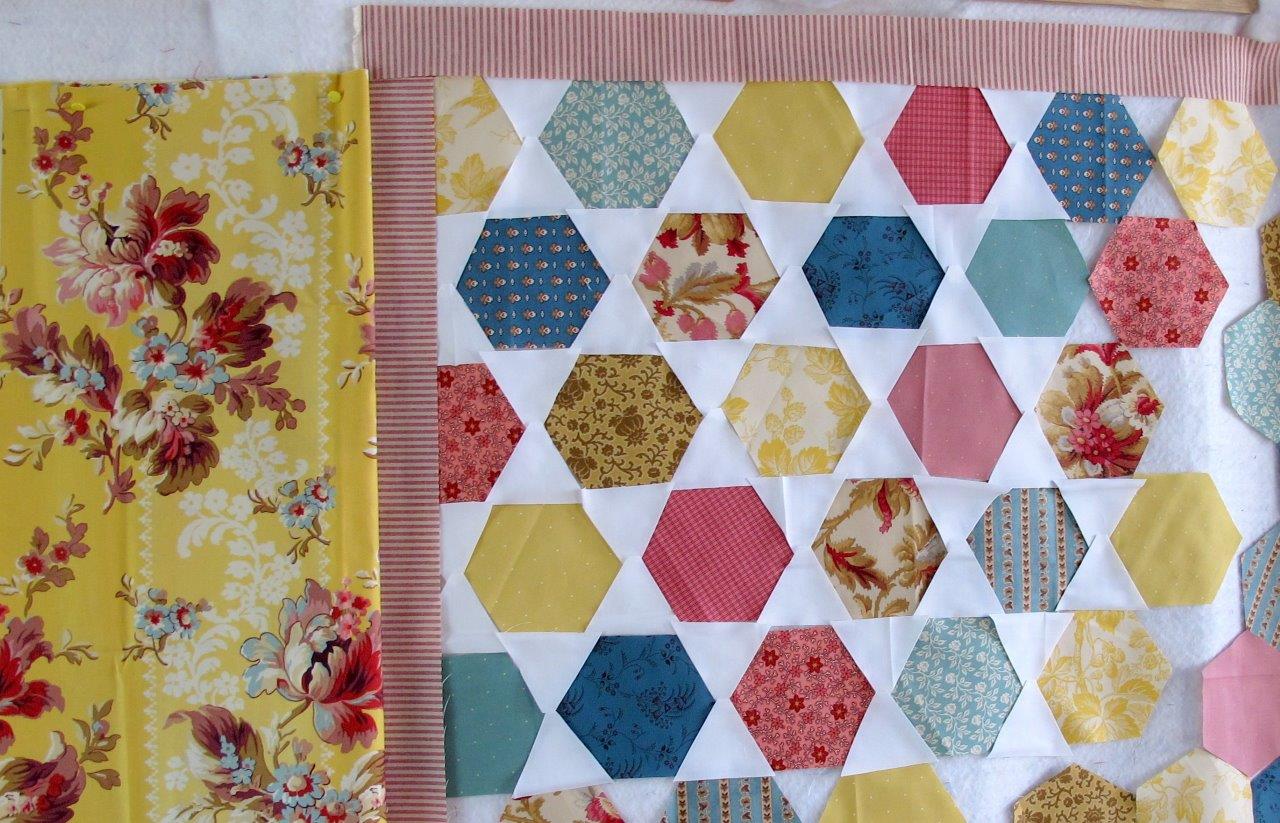
Auditioning different background fabrics


But because the snow background is still very white, I searched for a more yellow fabric in my stash. I think, but am not 100% certain, that this Kona cotton eggshell from Robert Kaufman.

En omdat ik dat toch wat wit vond, zocht ik in mijn voorraad naar een lichte stof die net wat geler is. Ik denk, maar ben niet helemaal zeker, dat deze Kona Cotton eggshell is van Robert Kaufman.


It's very hard to tell the difference between both solid fabrics. Maybe the next picture gives you a better idea: the top 5 rows are snow, the bottom 5 rows eggshell.

Het verschil tussen die beide neutrale achtergronden is natuurlijk moeilijk te zien. Misschien lukt het op deze foto: de bovenste 5 rijen zijn sneeuw, de onderste 5 eierschaal.
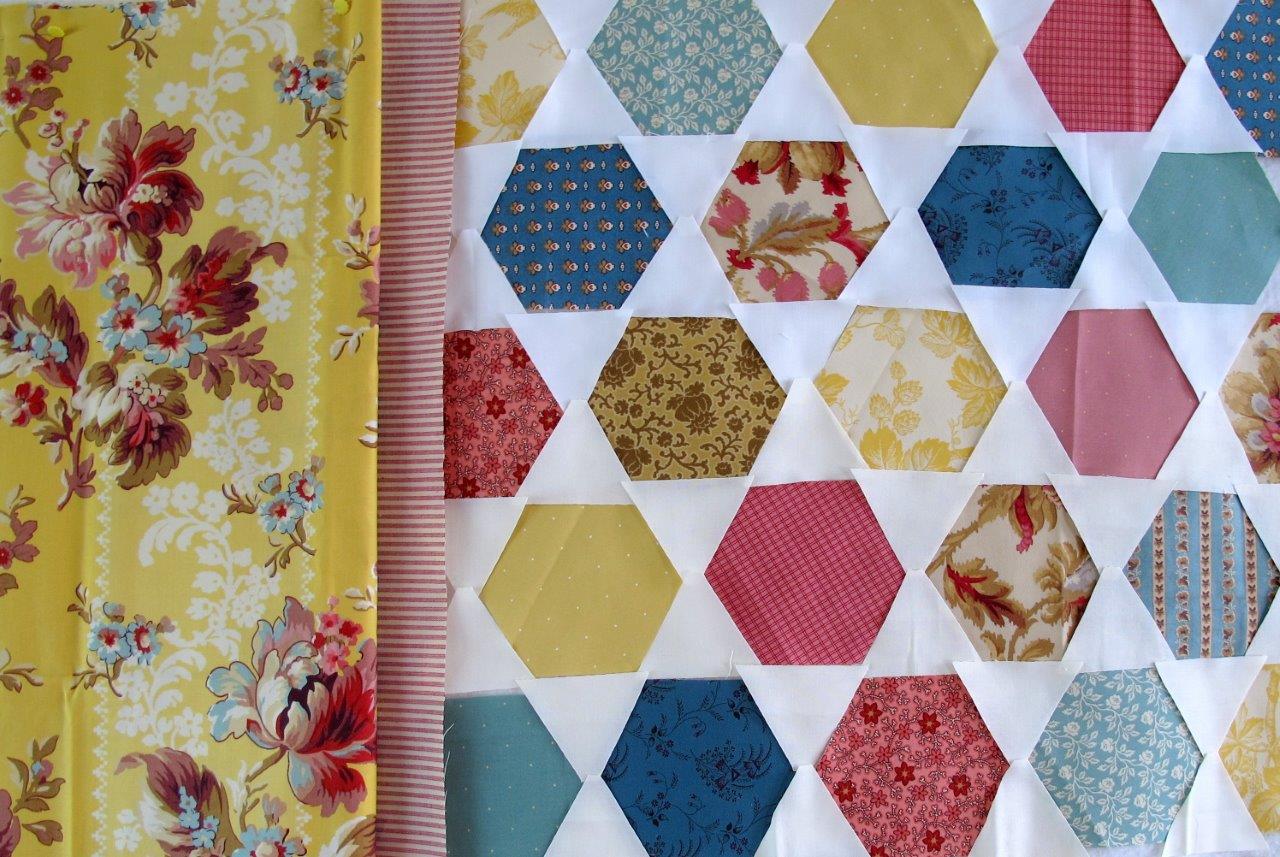
auditioning different background fabrics


So, what do you think: dark border + dots, or striped border + eggshell? Or striped border + dots?

Wat denken jullie: de donkere boord + de stippen, of de gestreepte boord + eierschaal? Of gestreepte boord + stippen?

zondag 8 juni 2014

If, if , if - Als, als, als

Spending a lot of time quilting, as I did these last weeks, also means spending a lot of time thinking while you quilt. These are some of the things I thought about: renovating my house (the things I would change if I had the money!), going on long holidays (the places I would go to if I had the time!) and making a quilt extraordinaire (the breathtaking quilts I would make if I had the talent!).

Vele uren quilten betekent ook vele uren denken terwijl je quilt. Je gedachten gaan alle kanten op, maar dit is waar ik voornamelijk aan dacht: het huis renoveren (wat ik allemaal niet zou doen als ik het geld had!), lange vakanties plannen (waar ik allemaal niet zou gaan als ik de tijd had!) en een uitzonderlijke quilt maken (welke adembenemende quilts ik niet zou maken als ik het talent ervoor had!).

In real life, all this thinking translated into buying new wallpaper for my daughters room (cheaper than renovating the house), booking one week of holidays in Austria (it's a start) and trying out different options for the quilt that is now on my "design wall" (1% inspiration and 99% transpiration is my fate).

In het echte leven leidde al dat gedenk tot de volgende resultaten: nieuw behangpapier kopen voor mijn dochters kamer (goedkoper dan het ganse huis te renoveren), een week vakantie in Oostenrijk boeken (klein begonnen is half gewonnen) en verschillende opties proberen voor de quilt die nu op mijn "designmuur" hangt (1% inspiratie en 99% transpiratie is mijn lot).

This is how this project looked when I blogged about it almost a month ago:
Zo zag dit project er uit toen ik er bijna een maand geleden over blogde:
And now for something completely different...

It hadn't changed much these past weeks because I wasn't very happy with it. I seriously thought about removing everything from the wall and putting it back in a drawer for another couple of years. But I decided to give it another try.

De afgelopen weken veranderde daar niet veel aan want ik was er niet echt gelukkig mee. Ik overwoog sterk om alles van de muur te verwijderen en het ganse project weer voor enkele jaren in de schuif te steken. Maar ik besloot nog een poging te wagen.

One of the things that bothered me, was the lack of a neutral space, so I tried to find a solution to that. I'm not sure white would work, so I used a light blue fabric with brown dots.

Eén van de dingen die me stoorde, was het gebrek aan neutrale ruimte, daar probeerde ik dus een oplossing voor te vinden. Omdat ik niet zeker was dat wit zou werken, gebruikte ik een lichtblauw stofje met bruine stippen. 
Trying something else

There's still quite some doubt about the dark border fabric. If I would use it, I would make sure only the beige center part would be visible, not the dark blue part. And seeing this picture, maybe I will give this a try with off-white fabric instead of the blue dots.

Er zijn nog altijd behoorlijk wat twijfels over de donkere boordstof. Als die gebruikt wordt, zal in elk geval enkel de beige middenstrook zichtbaar mogen zijn, niet het donkerblauwe stuk. En nu ik deze foto zie, zal ik misschien toch nog eens een versie met een ecru stof in plaats van de blauwe stippen proberen.
Trying something else
Here you see the new layout on the left, and the old one on the right of the picture. I do prefer the new layout. I think. Tomorrow I'll try yet another version.

Hier is de nieuwe layout links en de oude rechts. Ik zie echt wel liever de nieuwe. Denk ik.  Morgen probeer ik nog een andere versie.


zondag 1 juni 2014

Rome wasn't built in a day - Rome is niet op één dag gebouwd

Rome wasn't built in a day, and neither will be this quilt. After weeks of quilting, I quilted just one of the four borders in a grid pattern. Every 25 cm of progress take me about 3 hours. The border is roughly 8 meters in total, so that's 96 hours of non-stop quilting to quilt this border. Hmm, maybe I should have done these maths before deciding on hand quilting.

Rome is niet op één dag gebouwd, en dat zal ook niet het geval zijn voor deze quilt. Na weken quilten is slechts één van de vier boorden in een rasterpatroon gequilt. Elke 25cm vooruitgang neemt ongeveer 3 uur in beslag. Vermits de volledige boord in totaal ongeveer 8 meter lang is, is dat alleen al 96 uur quilten. Slik. Misschien had ik die berekening beter gedaan alvorens het handquilten te beginnen...

My quilting frame is quite large, so that  the first row of the HSt's are also in the frame when I quilt the border. That made me decide to start quilting the HST's too. After all, they need to be done and it provides some welcome change from the grid pattern.

Het quiltframe dat ik gebruik is behoorlijk groot en daardoor past ook de eerste rij HST in het frame wanneer ik de boord quilt. Dat deed me beslissen om ook die HST's al te quilten. Dat moet toch gebeuren en het zorgt voor wat welkome afwisseling van het rasterpatroon.

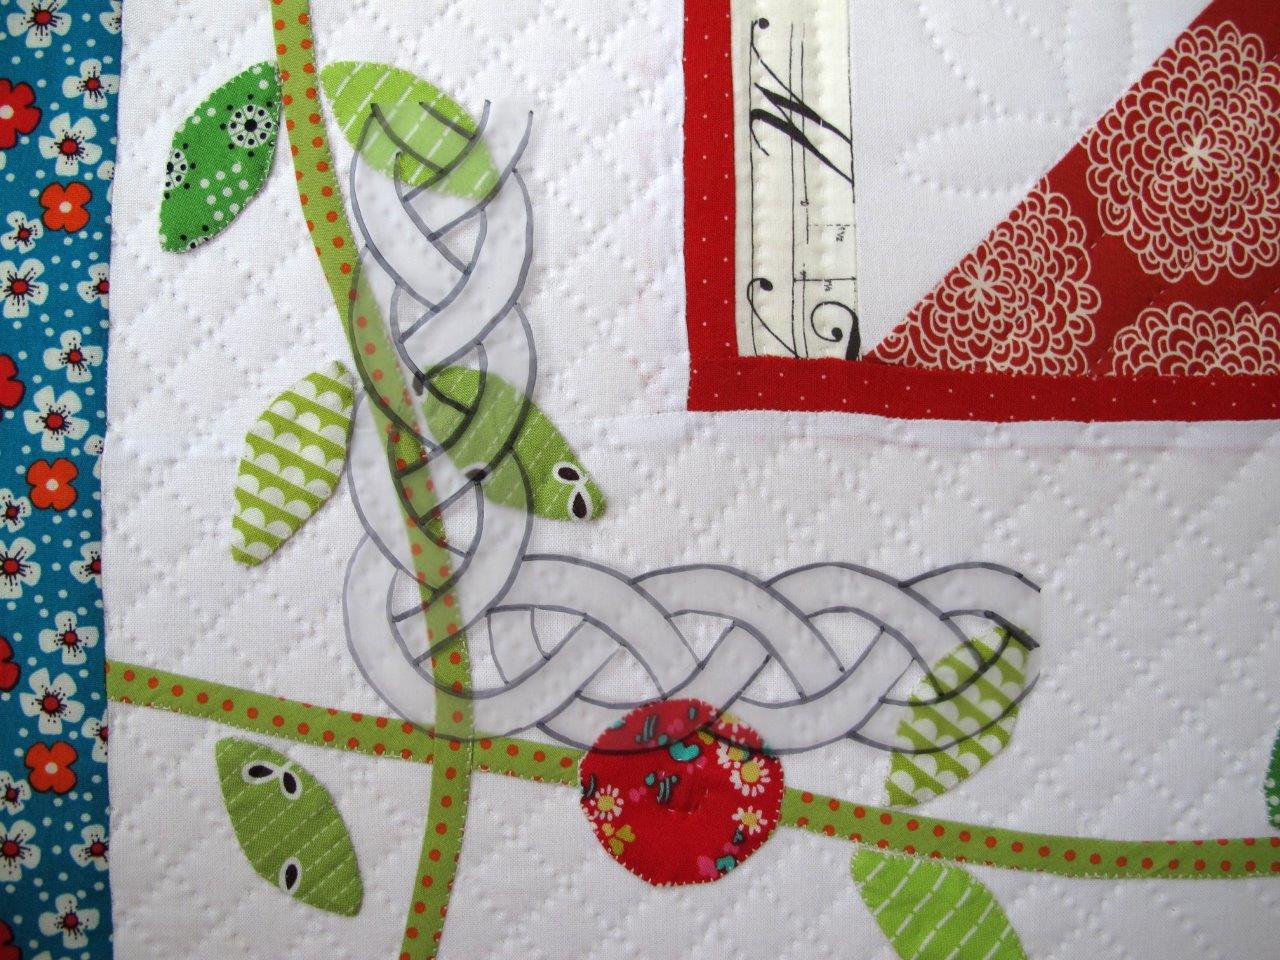
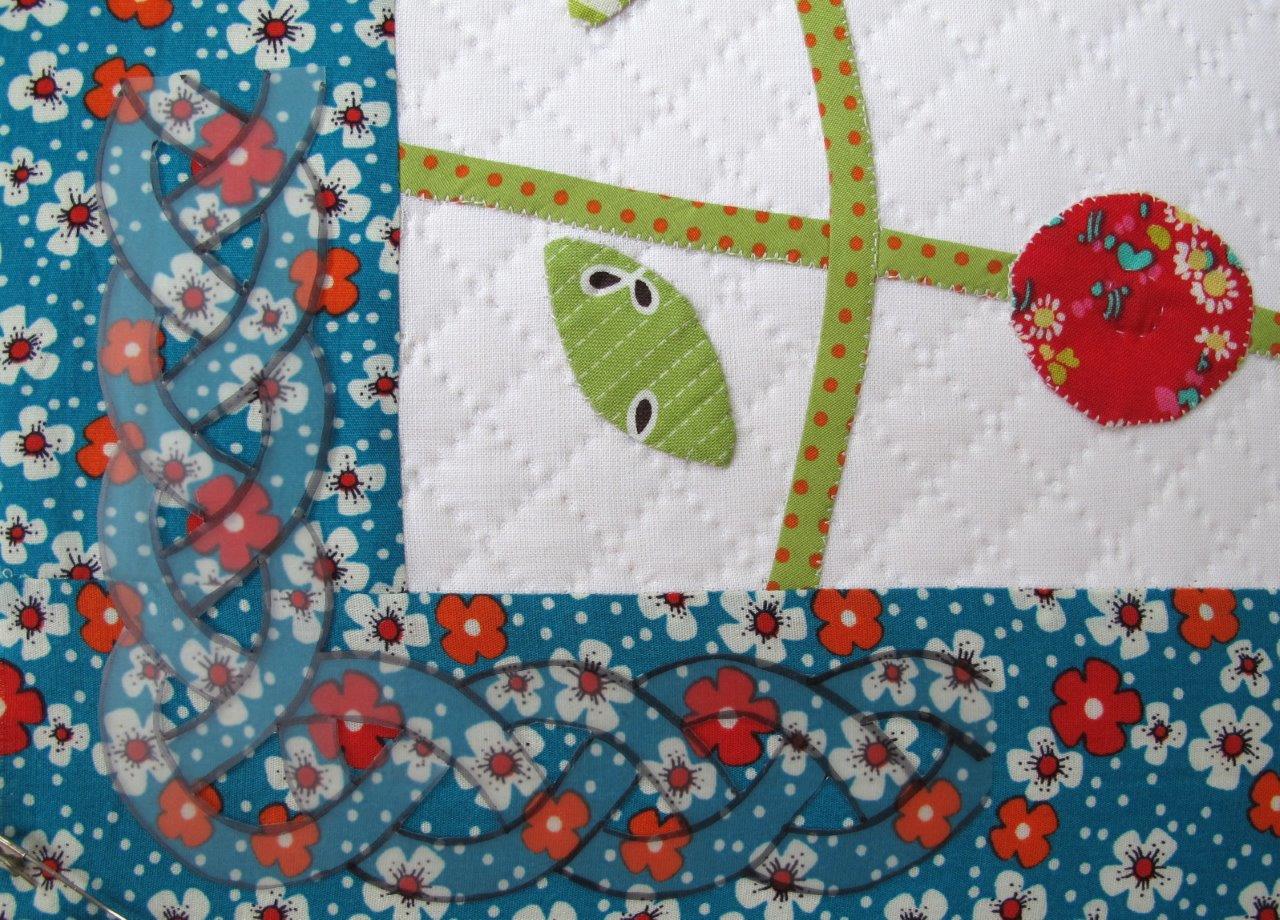
The HST's are quilted with three straight lines in the patterned fabric, and a quilt pattern in the white fabric. I made plastic templates for these, to make it easier to transfer the quilt pattern to the fabric. 

De HST's worden gequilt met drie rechte lijnen in de gekleurde stof en een quiltpatroon in de witte stof. Daarvoor maakte ik plastic templates, om het patroon makkelijker op de stof te kunnen overbrengen.

This is the first one (the black lines are on the plastic template, not on the fabric)...
Dit is het eerste van de  quiltpatronen (de zwarte lijnen staan op de plastic template, niet op de stof)...


the second...
het tweede....

and the third.
en het derde.

And here are some pictures of the quilted border so far. 
En hier enkele foto's van de tot nu toe gequilte boord.
quilt, quilt, quilt

quilt, quilt, quilt

Enough written now, on to the next 25 cm of quilted border!
Genoeg geschreven nu, op naar de volgende 25cm gequilte boord!

woensdag 21 mei 2014

Handquilting - Quilten met de hand

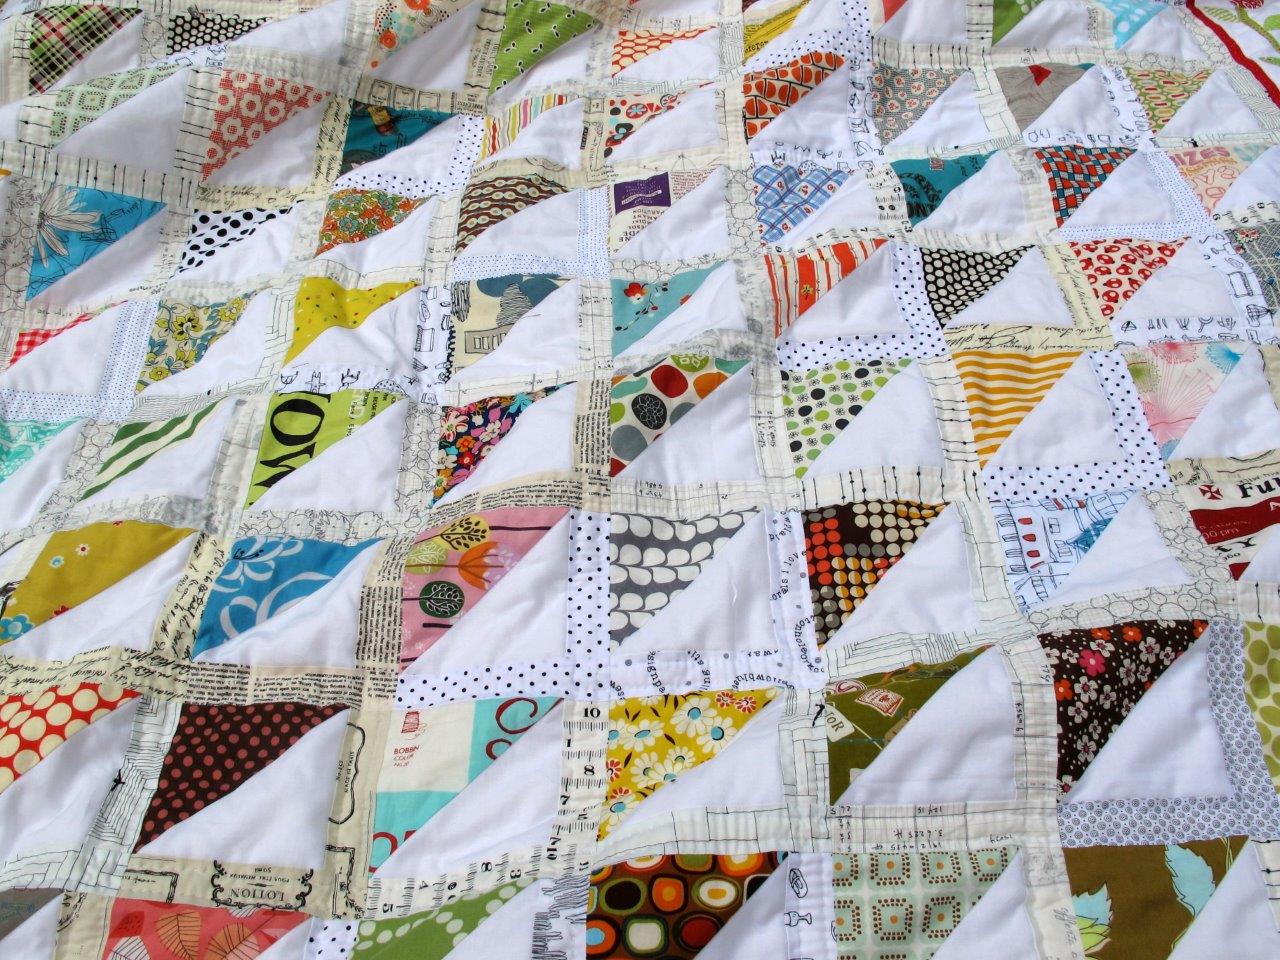
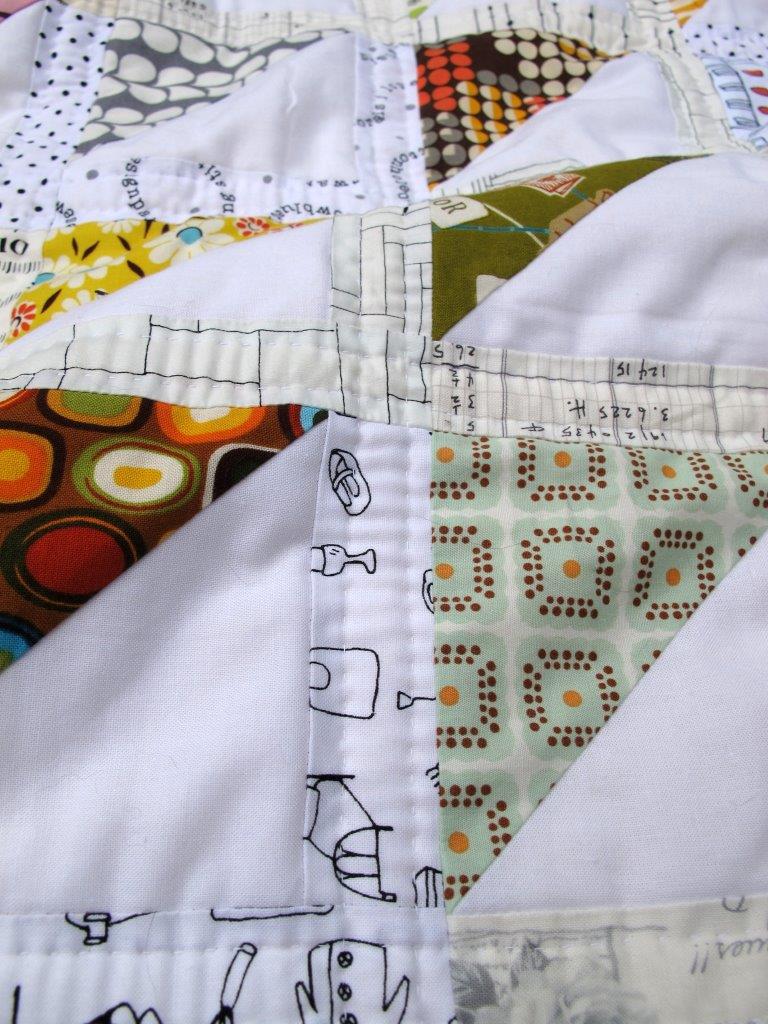
Since finishing the HST quilttop, I basted it and started handquilting. Yesterday, I finished quilting all the horizontal and vertical lines of the central part. I still need to quilt each and every one of the HST's, but I'm postponing that part.

Nadat de HST quilttop afgewerkt werd, maakte ik de quiltsandwich en begon te quilten. Gisteren quiltte ik de laatste horizontale en verticale lijnen van het middelste deel. Alle HST's moeten ook nog gequilt worden, maar dat schuif ik even voor me uit.
handquilting....
handquilting....

Now that the quilt is stable, I prefer quilting the first border. It's the first time I'm quilting a grid (1,5 cm between each line) and I especially bought a blue, water soluble fabric marker to trace the lines. I was very relieved to see that the blue lines did indeed disappear after applying some water to the lines.

Nu de quilt stabiel is, geef ik er de voorkeur aan verder te werken aan de eerste boord. Voor de eerste keer quilt ik een raster (1,5 cm tussen elke lijn) en daarvoor kocht ik speciaal een blauwe, wateroplosbare stofmarkeerstift. Ik was toch wat opgelucht vast te stellen dat de blauwe lijnen inderdaad verdwenen na het aanbrengen van wat vocht.
handquilting....
handquilting....

Quilting continues, slowly but surely. Still, this will take a while.

Het quilten gaat door, langzaam maar zeker. Maar het zal toch behoorlijk wat tijd in beslag nemen.

dinsdag 13 mei 2014

And now for something completely different...

When I started quilting again about three to four years ago, I visited a quilt show and saw a quilt made by Atelier Salgarollo, a quilting shop here in Belgium. I didn't have a lot of fabric yet at the time and so I bought the complete ready-to-cut package, naively thinking it would only take me a couple of weeks to make the quilt since everything I needed was included. 

Toen ik drie of vier jaar geleden opnieuw begon te quilten, bezocht ik een quiltshow waar ik een  quilt van Atelier Salgarollo zag. Ik had toen nog niet zoveel stofjes en vond het best handig een kant-en-klaar pakket te kopen. In al mijn naïviteit dacht ik dat dat ervoor zou zorgen dat die quilt na enkele weken ook echt kant-en-klaar zou zijn.

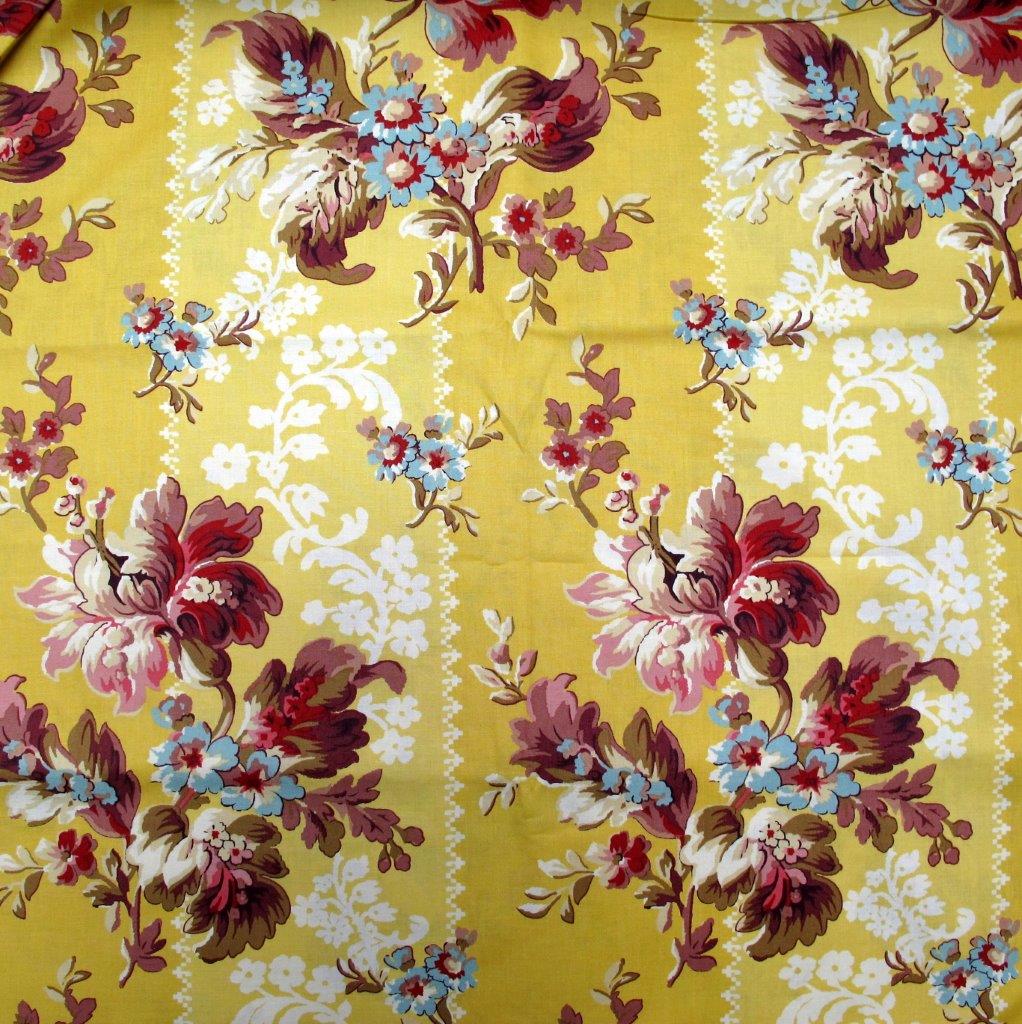
Fast forward to today, three years later ( I think, I actually lost count of how long ago exactly it is). Although my taste of fabric has changed a lot during these past years, I still really like the border fabric, a deep and rich yellow flower fabric.

Fast forward naar vandaag, drie jaar later (denk ik, het is al zolang geleden dat ik de tel kwijt ben). Alhoewel mijn stoffensmaak behoorlijk geëvolueerd is de afgelopen jaren, vind ik de boordstof, een diepe en rijke gele tint, nog altijd heel mooi.
And now for something completely different...

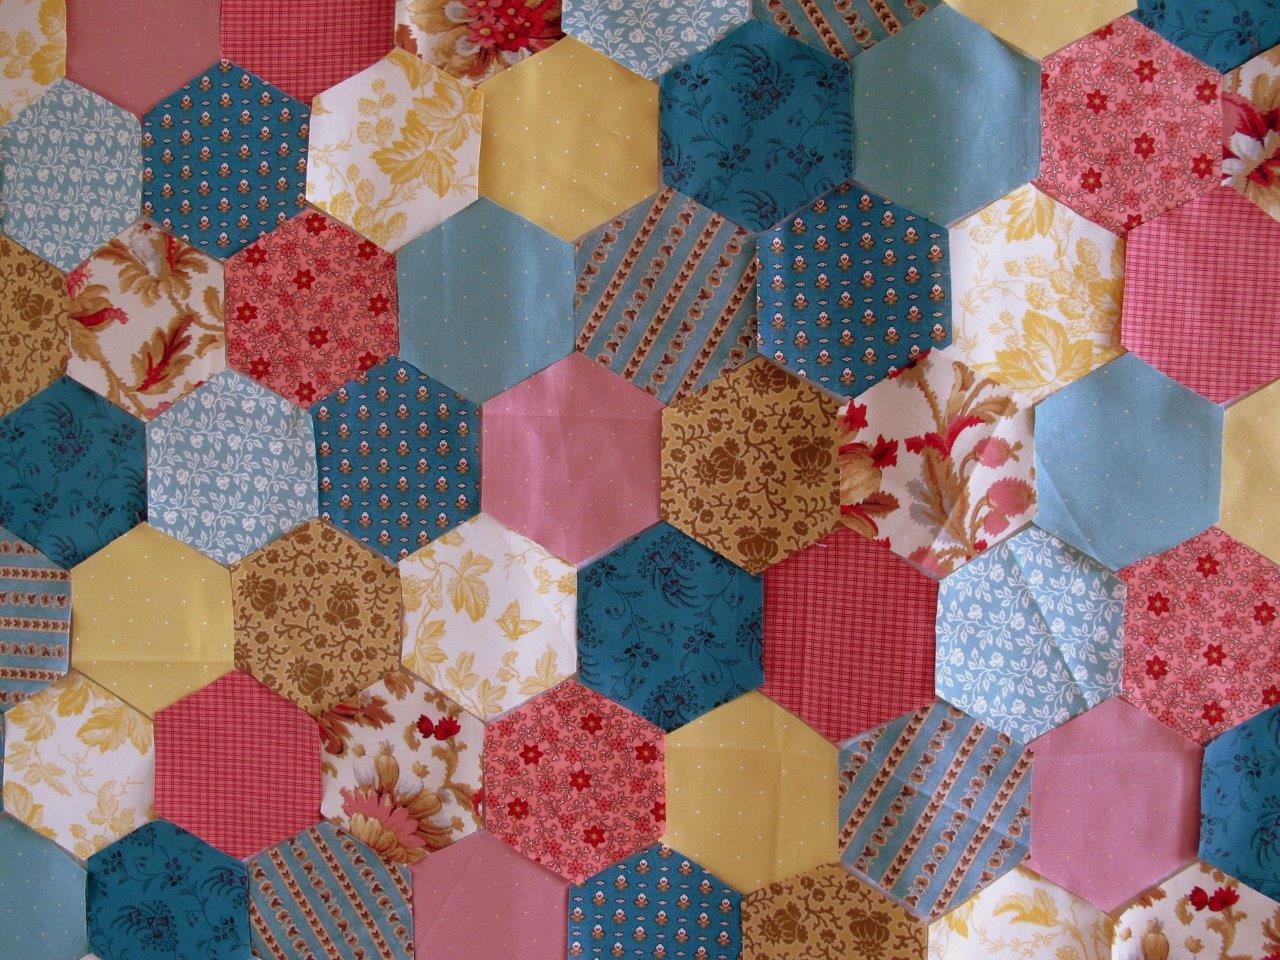
It is rather stupid to just keep it in my closet, so out it came and I started cutting the fabrics. I didn't follow the instructions for the original quilt because I want to make a hexagon quilt but I'm not so sure now that was a good idea. Oh, well, can't change anything about that anymore.

Omdat het eigenlijk toch behoorlijk stom is dat pakket gewoon in de kast te laten liggen, begon ik er aan. De originele instructies heb ik niet gevolgd, want ik wou een hexagoon-patroon, maar ik ben er nu niet zo zeker meer van of dat wel een goede keuze was. Ach ja, ik kan er toch niets meer aan veranderen.
And now for something completely different...

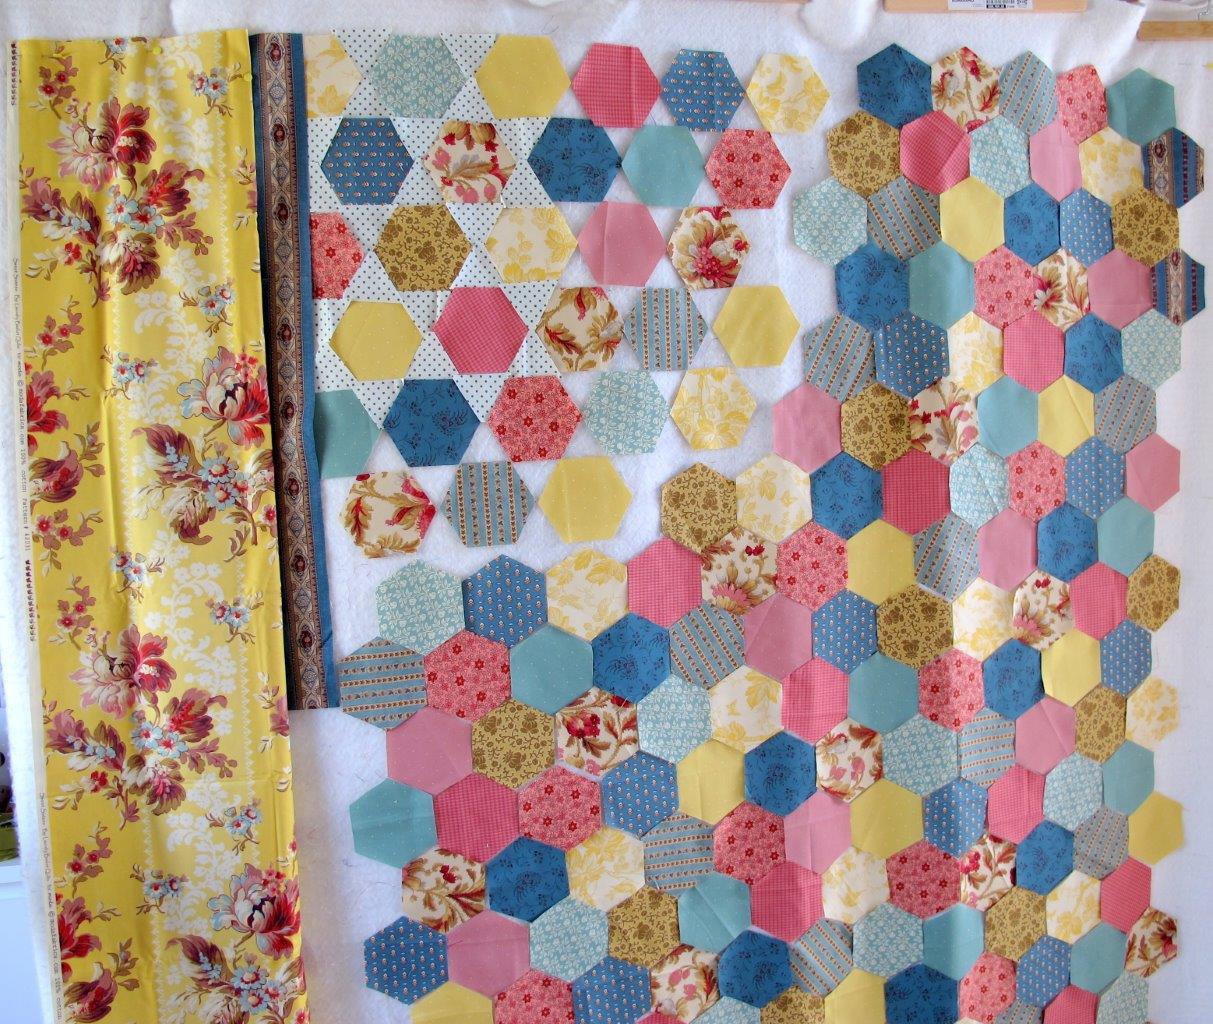
This is how it looks for the moment. Bit of a mess. I'll add a smallish dark blue border and then a large border with the yellow flower fabric and hope it'll look less messy once those are added.

Zo ziet het er momenteel uit. Nogal rommelig. Er komt nog een vrij dunne donkerblauwe boord rond en daarna een brede rand in de gele bloemenstof, hopelijk zal het minder rommelig zijn eens die er aan toegevoegd zijn.
And now for something completely different...


vrijdag 2 mei 2014

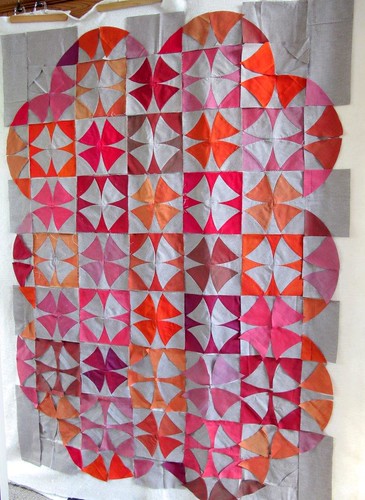
Winding ways quilttop

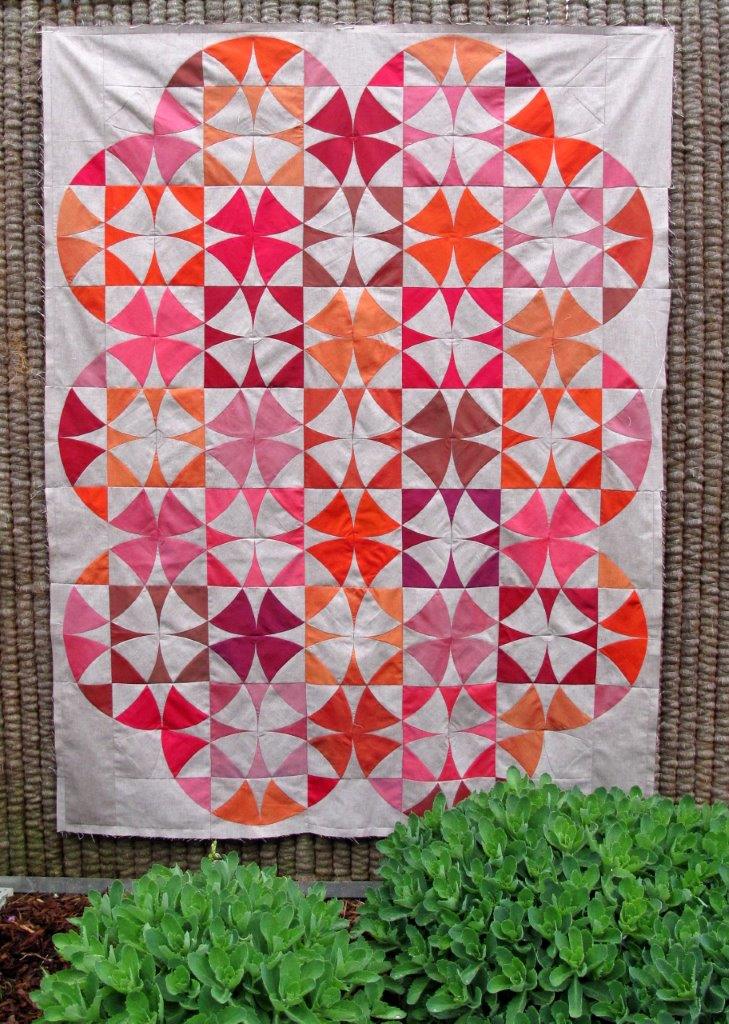
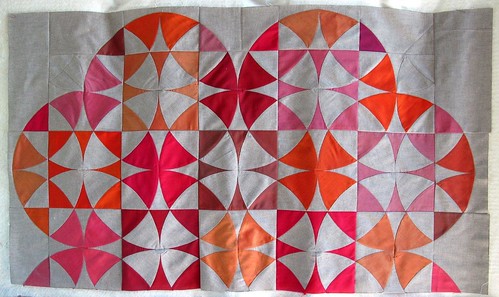
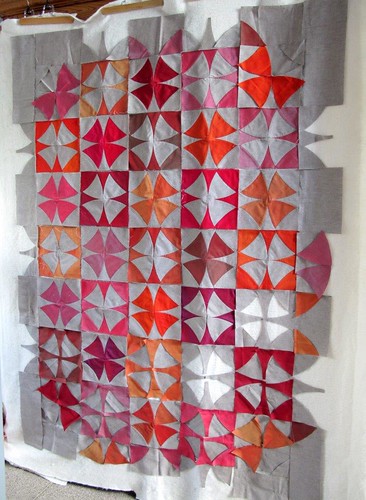
After nearly two years, the winding ways quilttop is finished! The layout for this quilt had to be altered after I found there wasn't enough of the background fabric and it was impossible to find more. So I opted for a different design than I originaly had in mind, but I think it turned out ok.

Na bijna twee jaar is de winding ways quilttop eindelijk af! De layout van de quilt moest aangepast worden nadat ik ontdekte dat er niet genoeg achtergrondstof was en het bovendien onmogelijk was er nog wat van te vinden. Ik koos dus voor een ander patroon dan ik eerst in gedachten had, maar vind dat het resultaat er best mag wezen.
winding ways quilttop finished

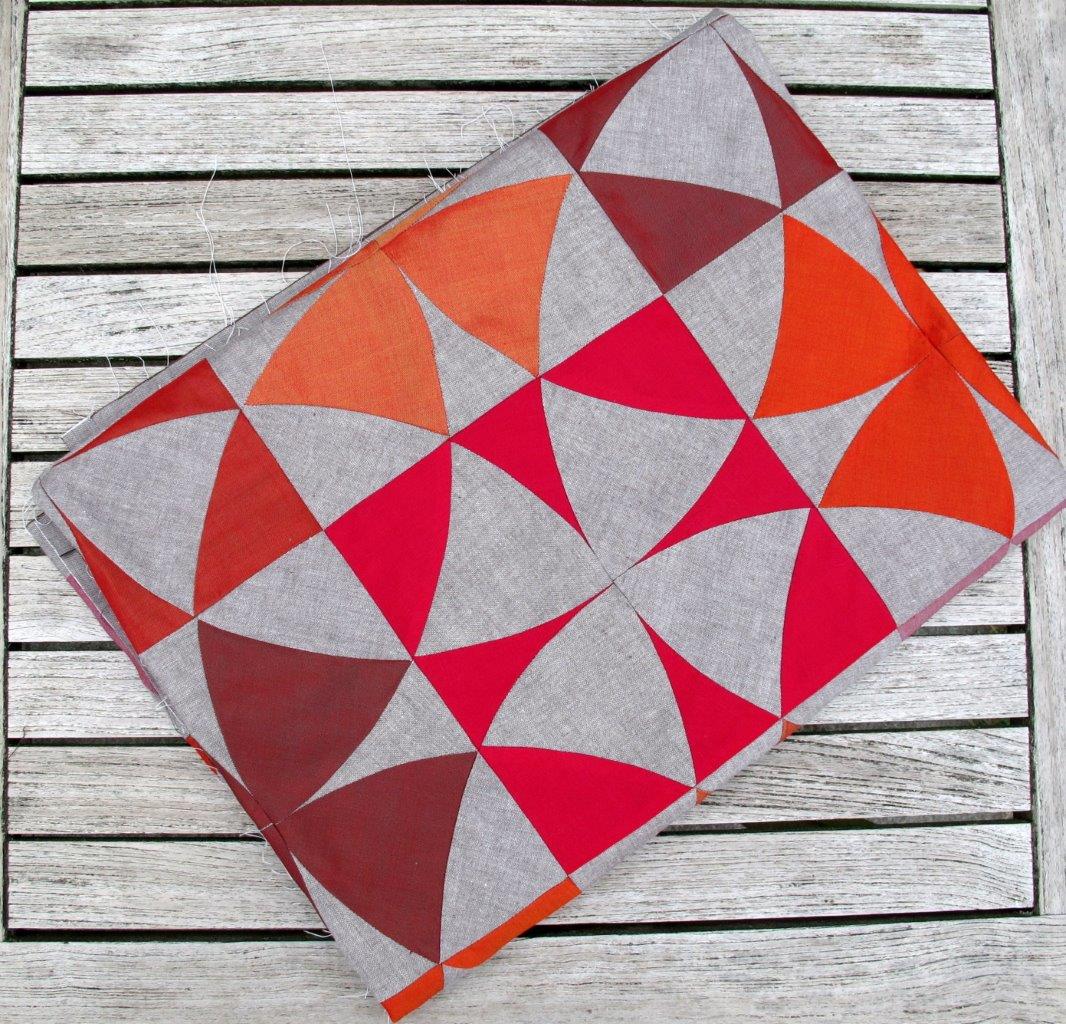
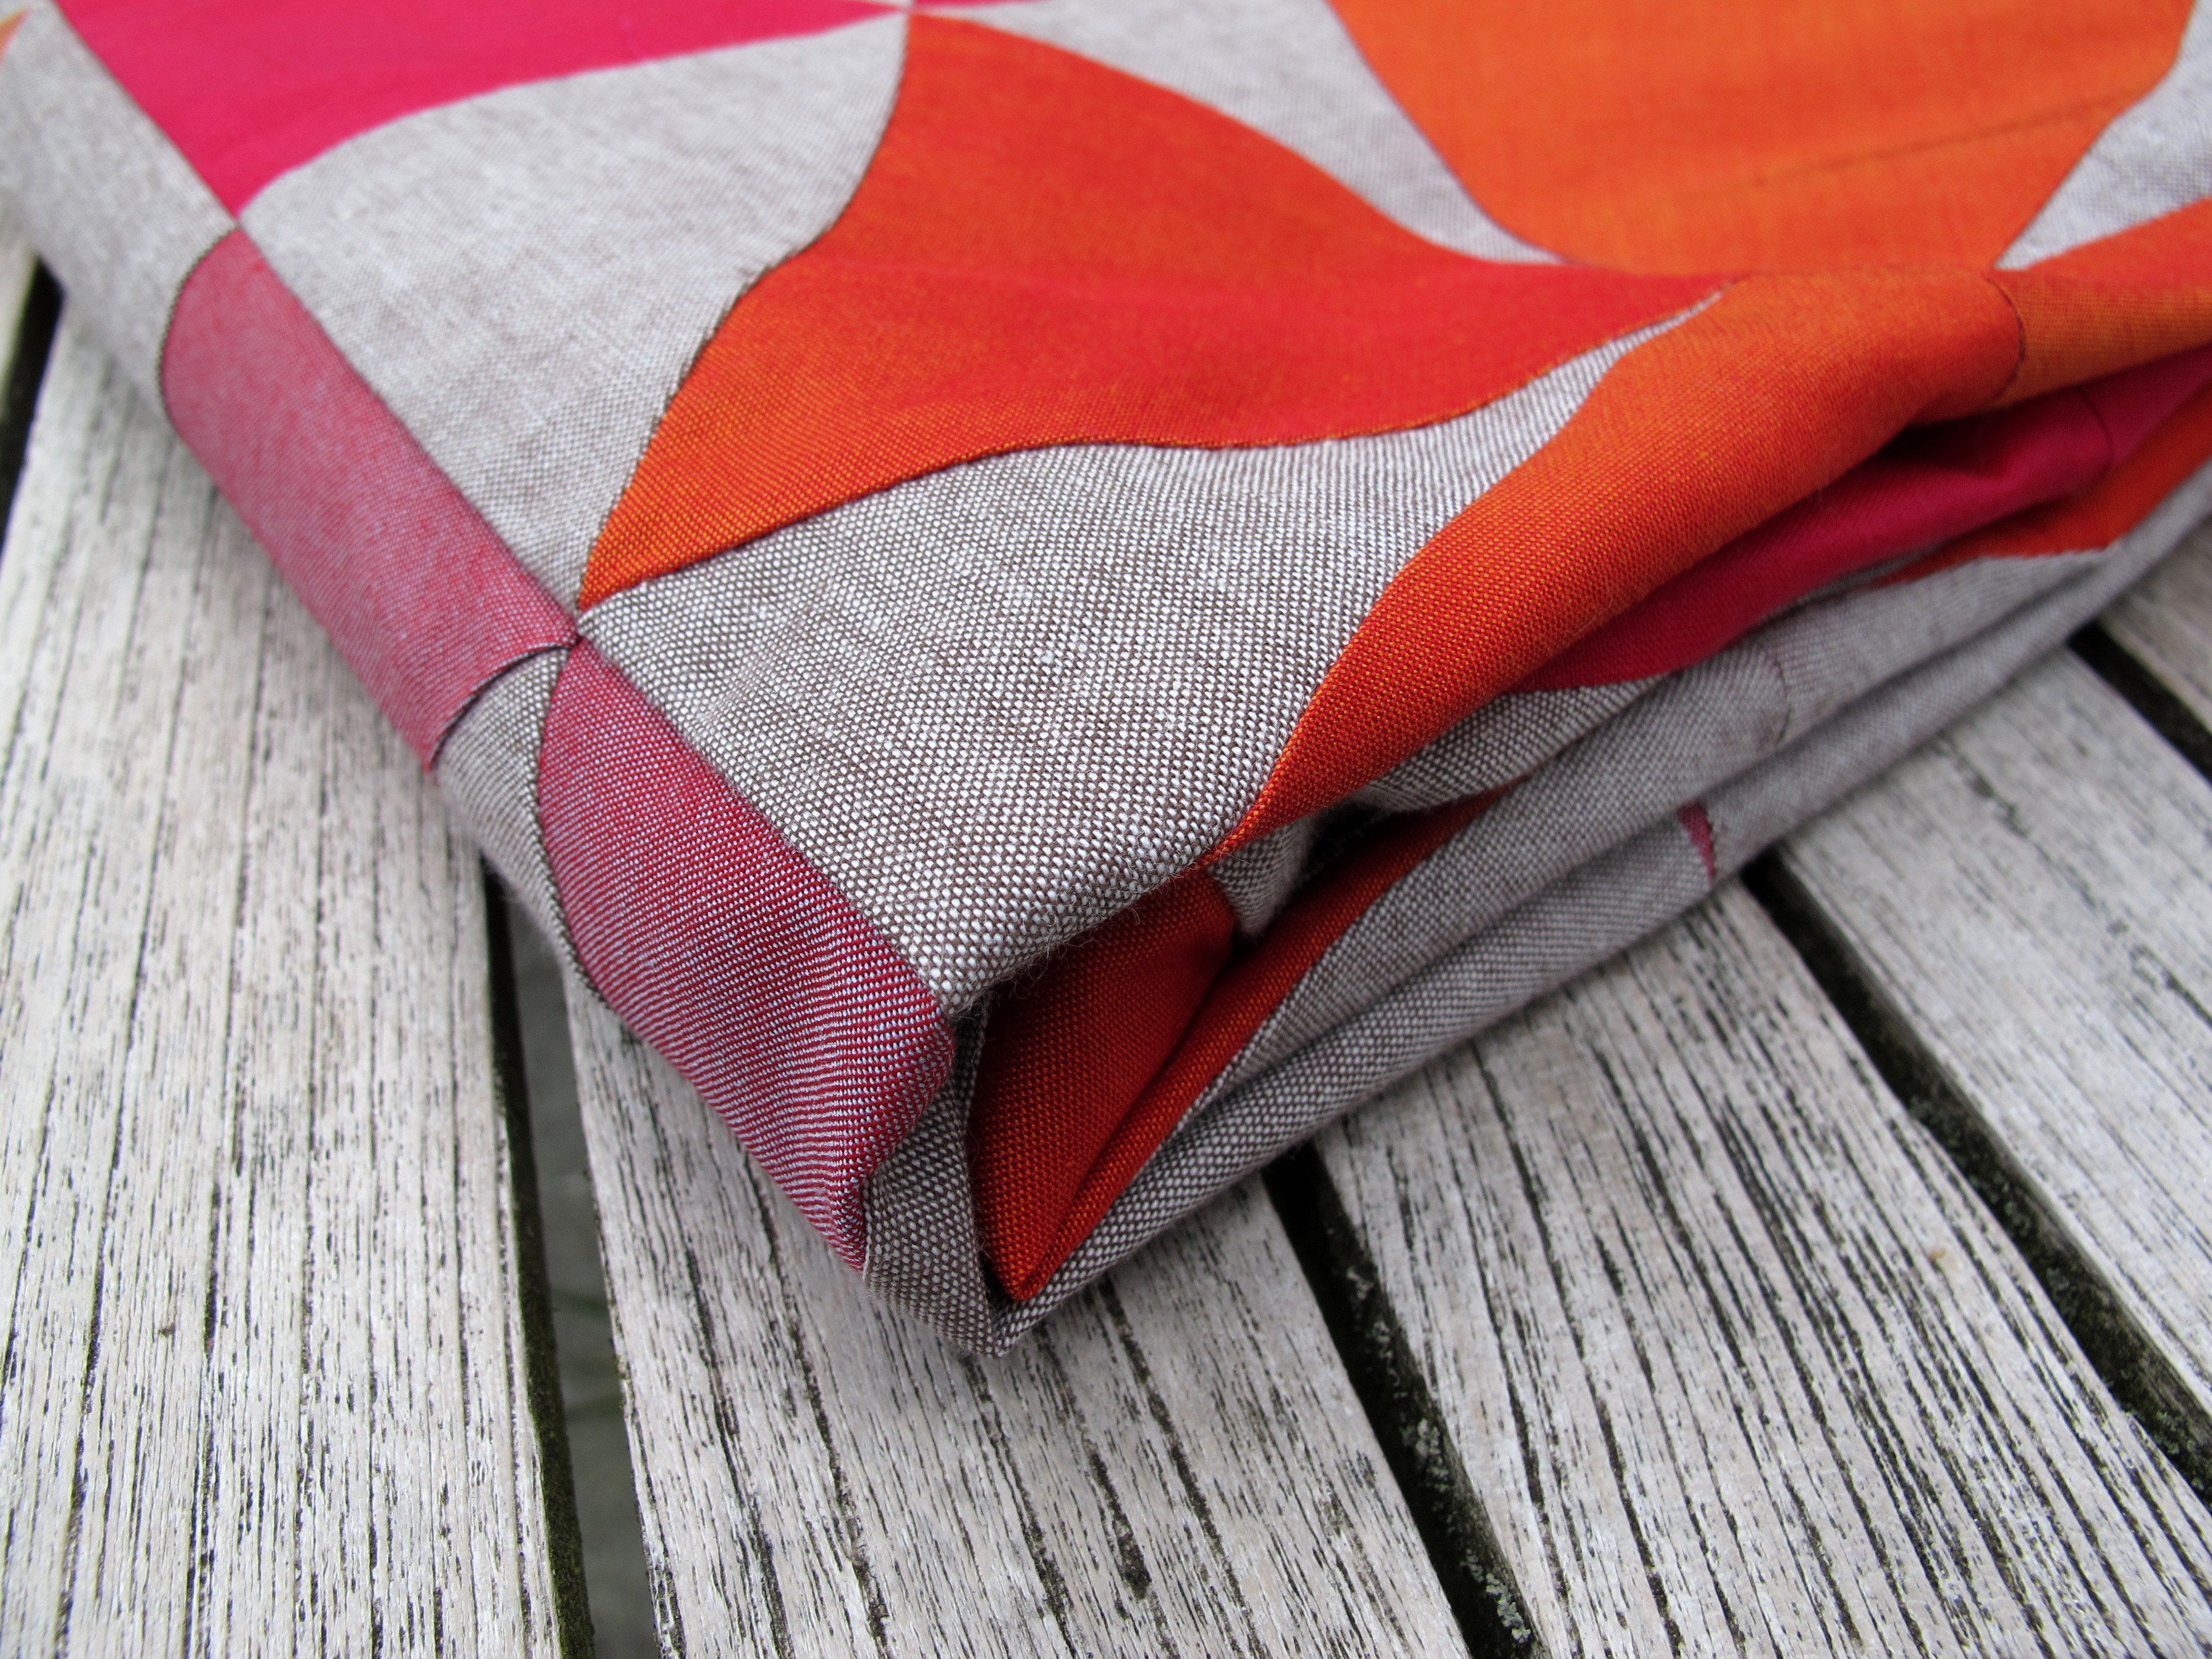
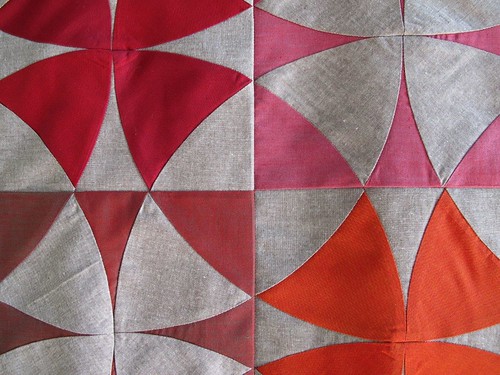
The quilt is made with a ruby red fat quarter pack from Oakshott. The background fabric is a Westfalen shot cotton. There's still some of the Oakshott fabrics left, enough I hope to bind the quilt with.

De quilt is gemaakt met een ruby red fat quarter pack van Oakshott. De achtergrondstof is een Westfalen shot cotton. Er is nog wat van de ruby reds over, genoeg hoop ik om de quilt er mee af te boorden.
Winding ways quilttp^finished

The quilt measures 175cm x 130 cm (about 69" x 51"). Now I have to figure out how to quilt it. Maybe handquilt with perle cottton?
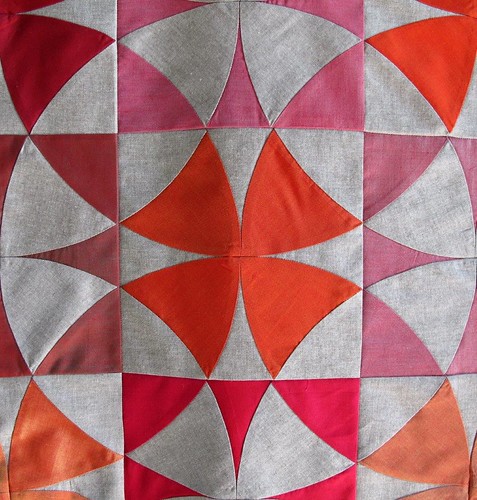
De quilt meet 175cm x 130cm. Nu nog nadenken over het quilten. Misschien handquilten met coton perlé?
Winding ways quilttp^finished

maandag 14 april 2014

Rediscovering the winding ways quilt

It has been almost 2 years since I made the first blocks for the winding ways quilt and last time I worked on it was more than a year ago. I finished 24 blocks, two from every colour of the Oakshott Ruby red fat quarter pack.
Winding ways progress
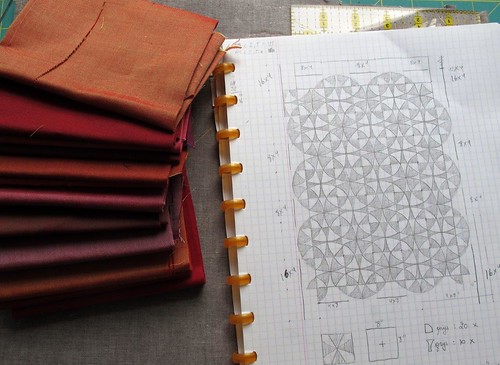
Not that I forgot about it, but I had a layout in mind for this quilt but not enough of the background fabric to make that layout. And so I searched the internet for extra fabric and I searched shops but couldn't find any. A couple of days ago, I decided to give up searching and make do with the fabric I had. 

I made a new layout, counting and using every bit of background fabric. The Oakshott is not a problem, more than enough fabric in the fat quarter pack.
Rediscovering my winding ways quilt
 After the layout, I started cutting the fabric, first the background, to be sure I hadn't miscalculated.

Rediscovering my winding ways quilt

And then the oakshotts

Rediscovering my winding ways quilt

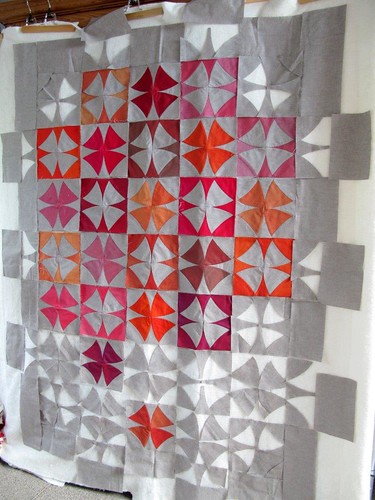
Several hours later, all the pieces were on the wall

Rediscovering my winding ways quilt

Everything is ready to finish the quilttop now. All I need, as ever, is time to do it...

zondag 16 februari 2014

Progress on the HST quilt - Verder werken aan de HST quilt

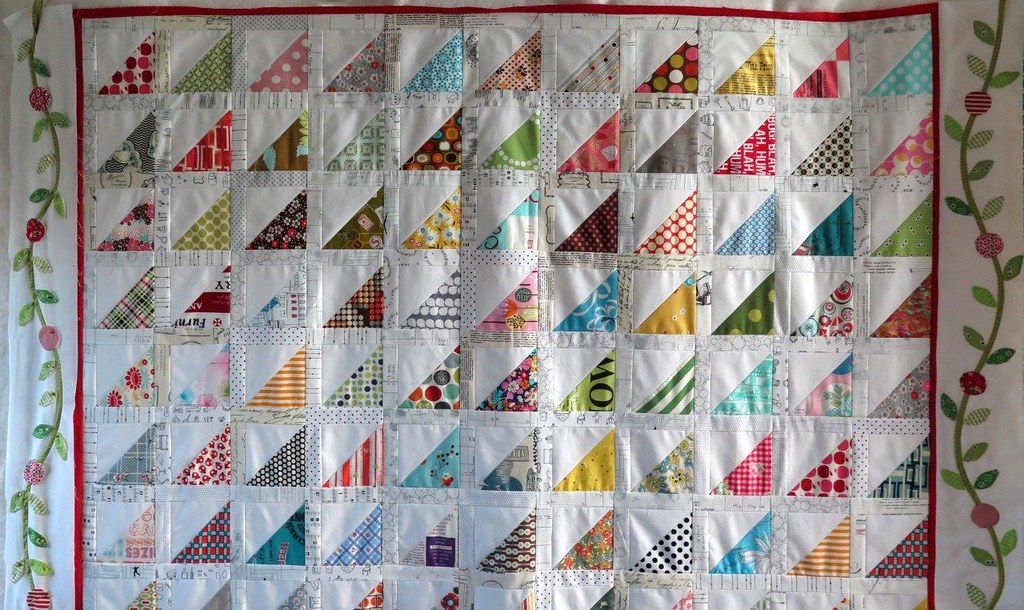
The second appliqué border was finished and added this weekend, and I'm happy I managed to do that. Six more weeks to go before the Easter holidays, when I will hopefully have some days off from work and can spend time on this quilt and the Green Tea quilt. What a joy that will be! Here the second border is ready to be appliquéd.

De tweede kant van de appliqué boord raakte dit weekend gestikt, en daar ben ik behoorlijk mee opgezet. Nog zes weken tot de Paasvakantie, dan heb ik hopelijk enkele dagen vrijaf en tijd om aan deze quilt en de Green Tea quilt verder te werken. Dat zal fijn zijn. Hier is de tweede kant klaar om geappliqueerd te worden.
HST quilt progress
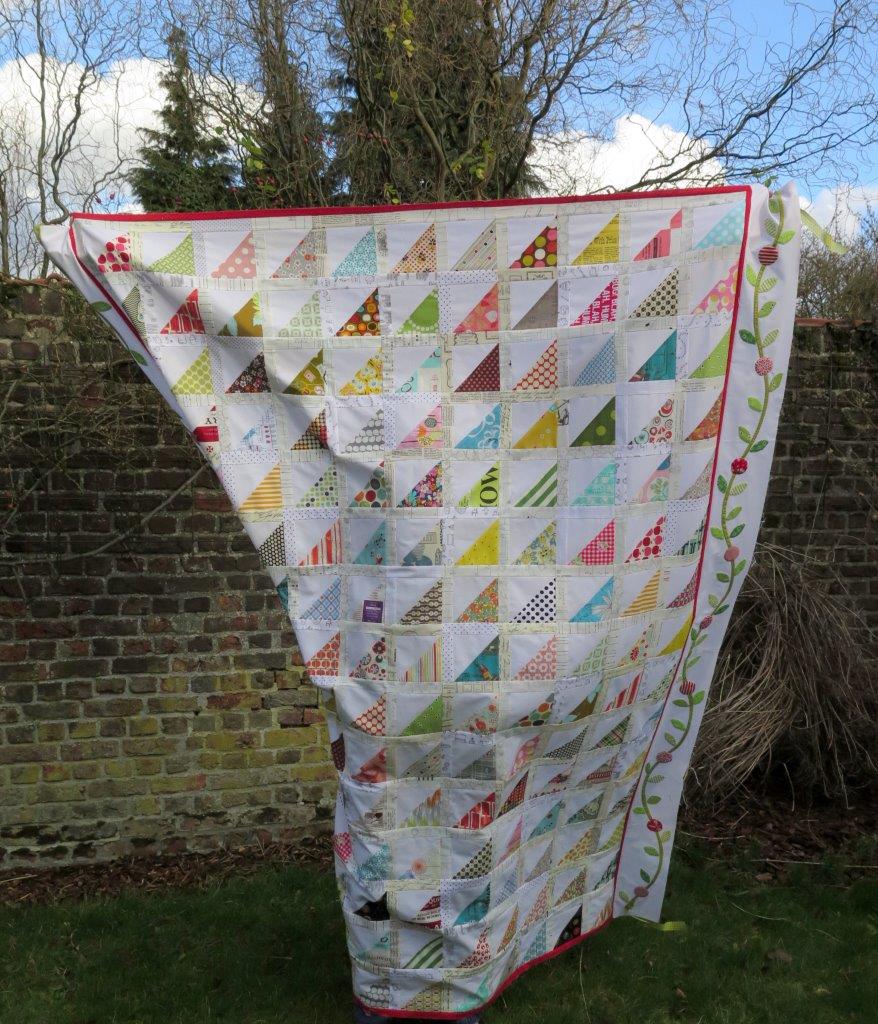
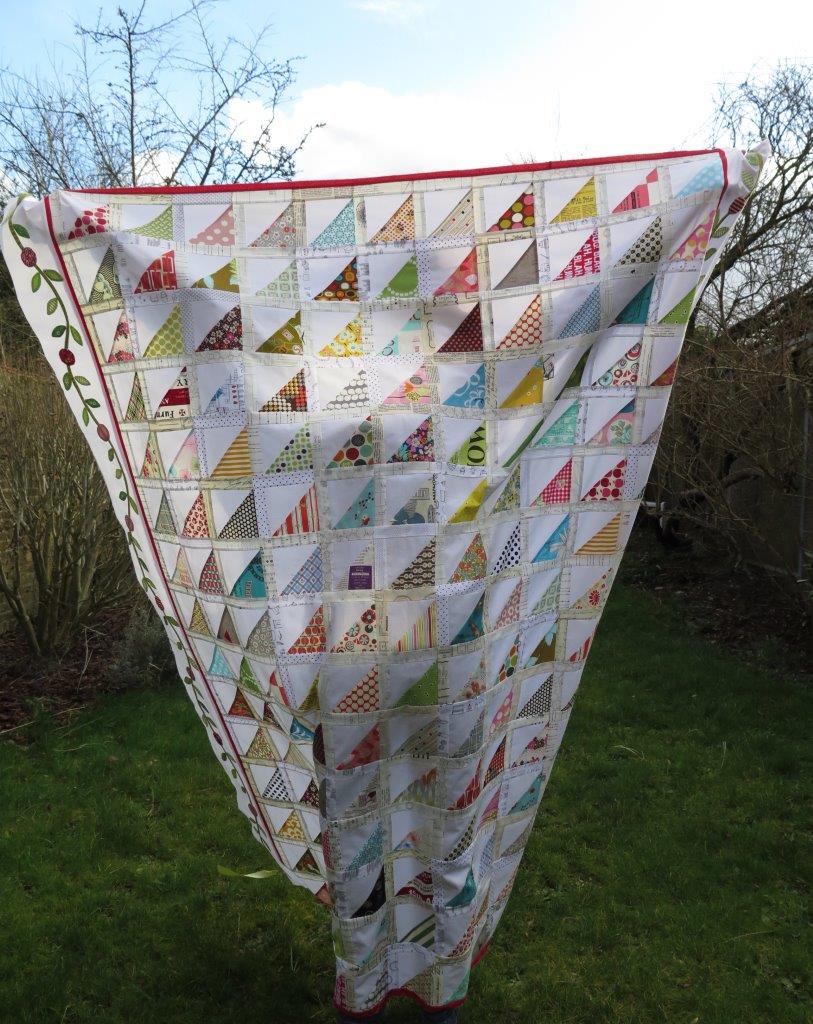
Once finished, we tried to take pictures in the garden, but the wind wasn't in the mood. 
Toen dat af was probeerden we foto's te maken in de tuin, maar de wind wou niet echt meewerken.
first try
eerste poging
HST quilt progress
second try
tweede poging
HST quilt progress
third try (with extra help)
derde poging (met extra hulp)
HST quilt progress
Two more sides to make, I can see the finish line!
Nog twee kanten te maken, het einde van de tunnel is in zicht!
Related Posts Plugin for WordPress, Blogger...